Key TakeawaysOrbital sander swirl marks are tiny circular scratches that are caused when abrasive grains cut unevenly while sanding. Sanding swirl marks usually become more prominent after staining or finishing because the finish highlights the underlying sanding marks. The most common causes include skipped grit progression, clogged up discs, excessive pressure, and debris stuck under the sanding pad. Using proper techniques, clean abrasives, and effective dust extractions significantly reduces orbital sander marks. If sanding marks after staining stay, the right solution is to step back to a coarser grit and re-sand the surface before finishing. |
What This Article Covers
This blog explains the root cause of orbital sander swirl marks, how professionals prevent sanding swirl marks, and how to fix sanding marks before completing the work. It’s made for woodworking professionals, flooring contractors, cabinet manufacturers, and serious DIY users seeking consistent surface finishing results.
What Are Orbital Sander Swirl Marks and Why Do They Appear?
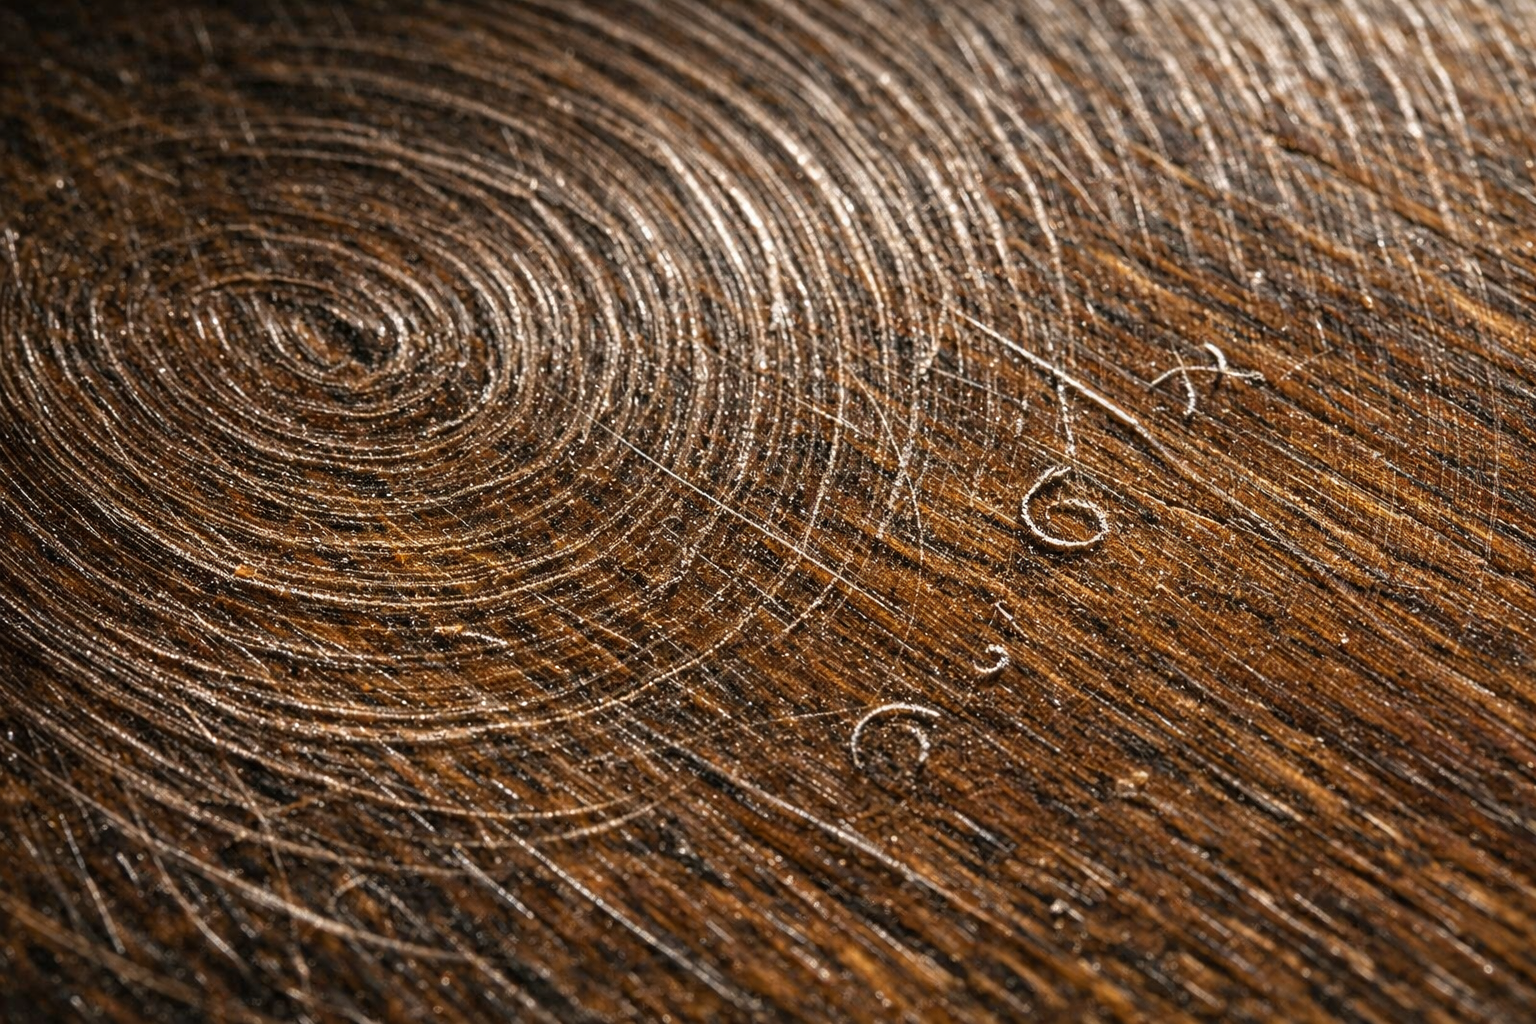
Orbital sander swirl marks are circular micro-scratches left on wood, paint, or even on a metallic surface when abrasive particles cut unevenly during sanding.
If sanding discs are worn, contaminated, or used incorrectly, the scratch pattern becomes more prominent or the finish highlights underlying sanding marks.
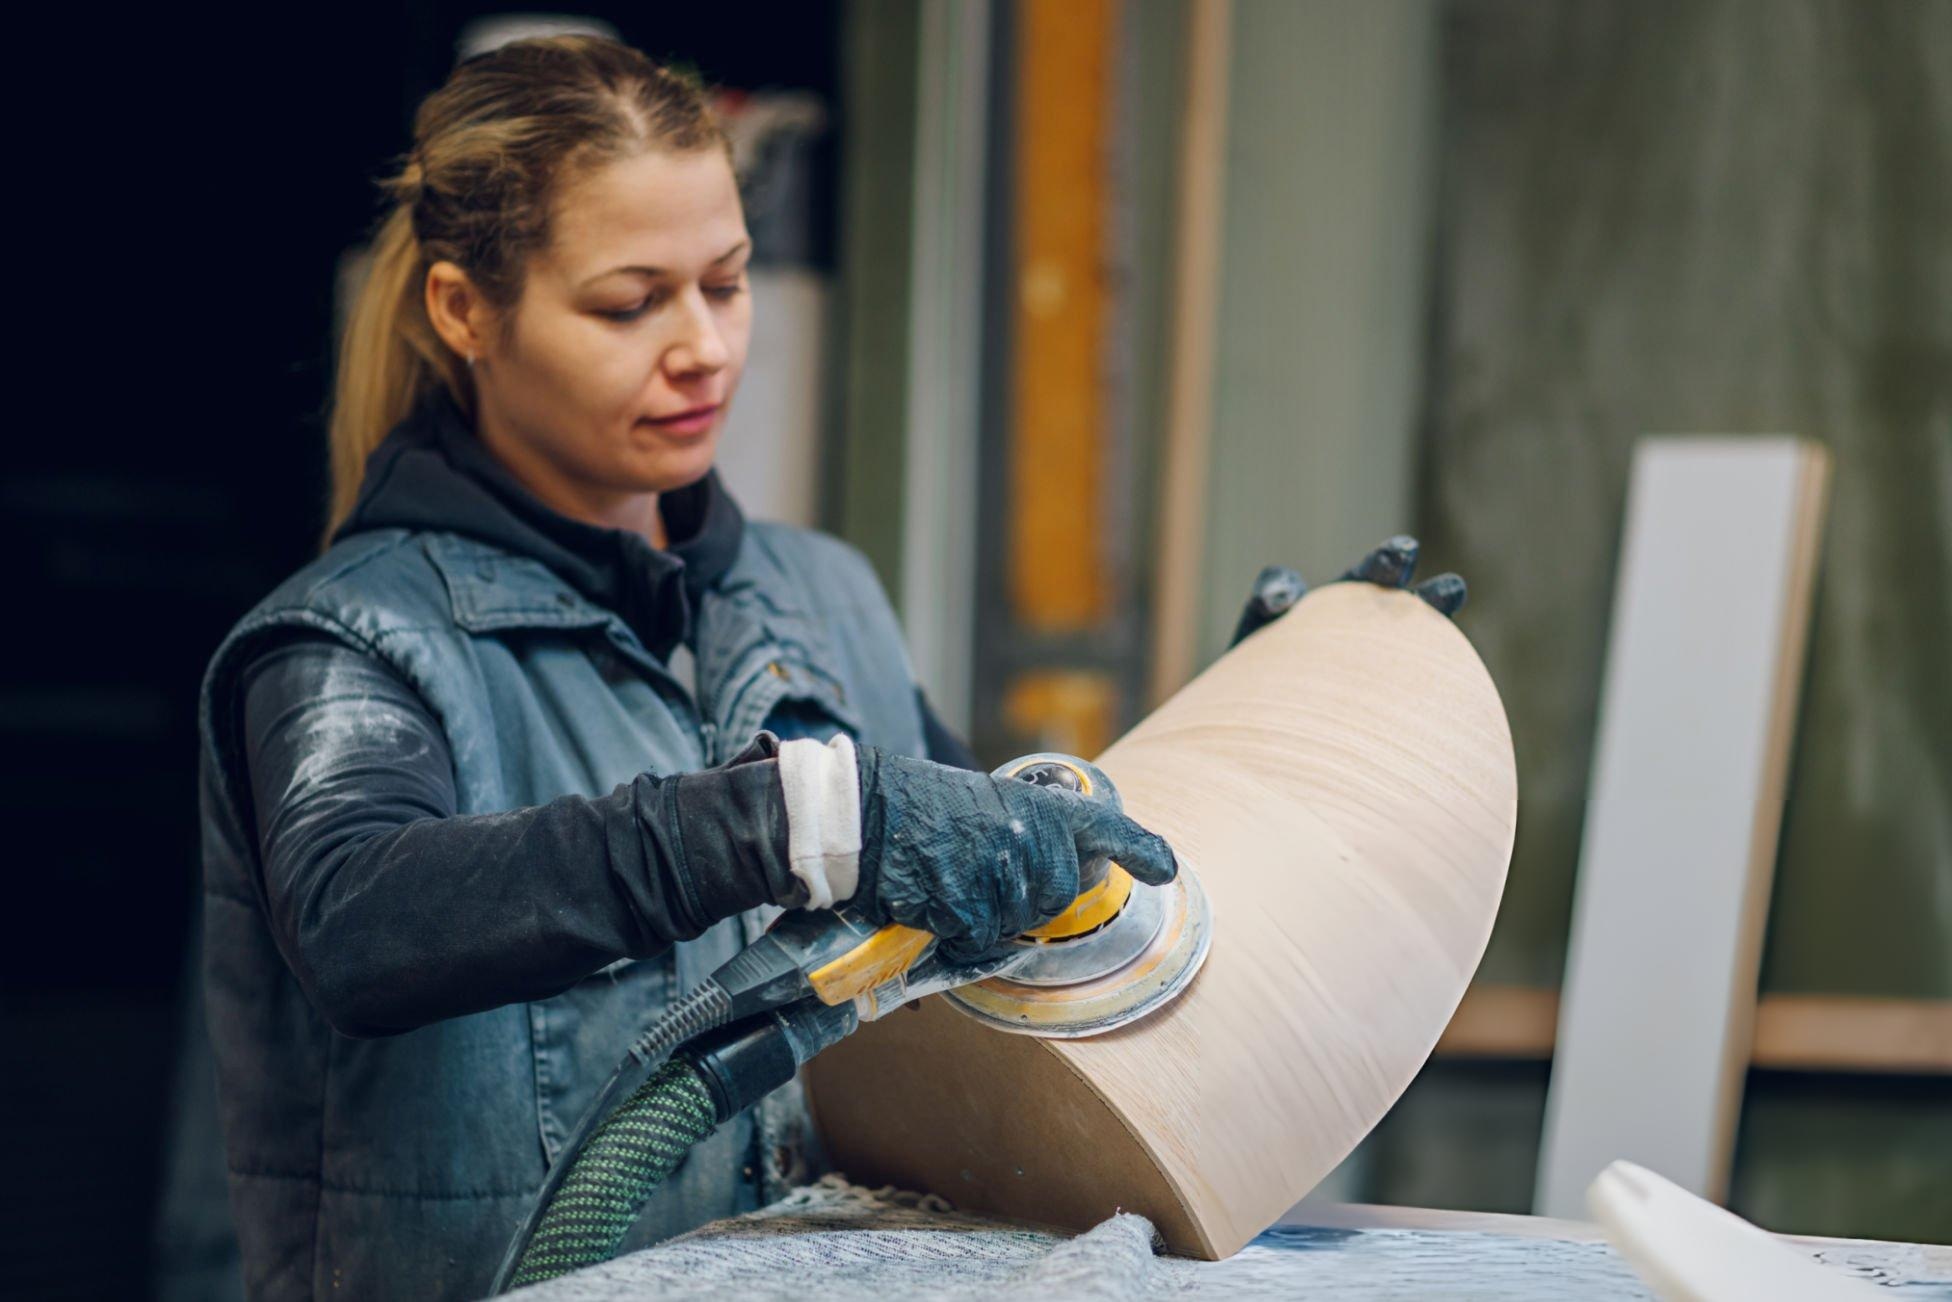
Random orbital sanders foster a spinning motion with a small orbital movement. This design reduces directional scratches compared to straight-line sanders, but it can’t totally eliminate defects that are caused by poor sanding practices. When sanding particles or worn abrasives interfere with cutting, the result is visible orbital sander marks all across the surface.
What Are Sanding Pigtails?
Sanding pigtails are small spiral scratches that appear when tiny debris and particles are trapped between the abrasive disc and the work surface. As the sanding pad spins and rotates around in orbit simultaneously, the trapped particle cuts down repetitive circular motion directly into the material.
This defect is commonly found in woodworking and automotive refinishing. Dust particles, hardened finish fragments, or damaged abrasive grains can all cause sanding swirl marks when trapped under the pad.
Why Swirl Marks Become Visible After Staining
Most of the professionals only see sanding marks after staining or finishing. This happens because the finish changes how light reflects from the surface. Three factors explain this effect.
- Stain highlights uneven scratch patterns.
- Wood fibers absorb stains differently, along with the scratch edges.
- Gloss finishes amplify reflected light across micro-scratches.
What Causes Swirl Marks From Sanding?
The majority of sanding swirl marks take place due to poor sanding technique, incorrect abrasive selection, or contamination between the sanding disc and surface. If sanding speed is excessive and dust accumulates under the pad, orbital sander swirl marks become more prominent.
Some of the common causes include.
Skipping grit levels
Jumping directly from coarse to fine grit leaves all the tough leaves deep scratches that finer abrasives can’t get rid of
Excessive downward pressure
Applying heavy pressure prevents the abrasive from cutting evenly and increases orbital sander marks.
Worn or low-quality sanding discs
Dull abrasives create inconsistent scratch patterns and can produce sanding scratches on delicate surfaces.
Dust build-up under the sanding pad
Dust particles can create sanding pigtails when they’re trapped under the disc.
Uneven or damaged backing pads
A worn pad can cause uneven contact with the surface.
Floor edging tools
During hardwood floor refinishing, aggressive edging tools usually create edger swirl marks that should be blended with buffer sanding.
Incorrect polishing technique
Improper polishing with random orbital sander setups might leave fine swirl patterns instead of completely removing them.
Abrasive grain quality also plays a role. Industry standards from the FEPA abrasive federation define grain uniformity and cutting characteristics that influence sanding performance.
How to Prevent Swirl Marks With an Orbital Sander
Preventing orbital sander swirl marks requires four key practices: proper grit progression, light pressure, clean abrasives, and effective dust extraction. When working on hardwood flooring or on a glossy finish, a stricter checkup is necessary to avoid any visible sanding swirl marks.
Step-By-Step Prevention Process
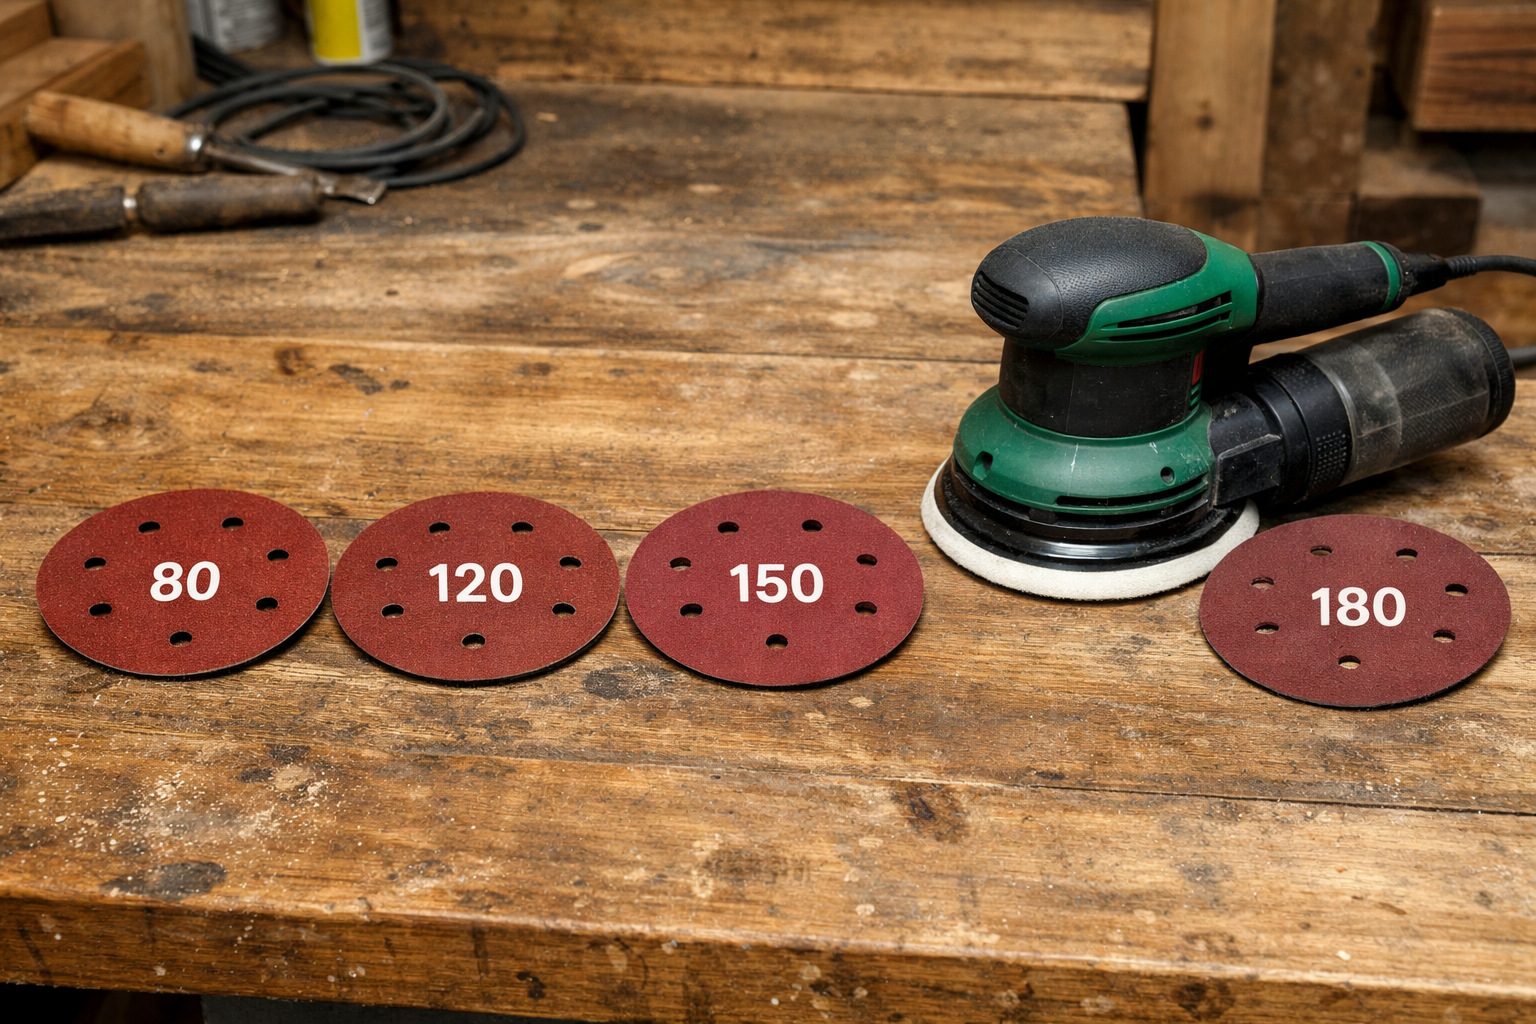
Step 1: Follow Proper Grit Progression
Example sanding sequence:
80 → 120 → 150 → 180
Skipping grits leaves hard scratches that later stages can’t remove, which results in visible sanding marks.
Step 2: Use Light, Even Pressure
Let the sanding tool do its work; excessive pressure increases friction and creates uneven sander marks.
Step 3: Keep Abrasives Clean
Vacuum the surface between sanding passes to prevent any sanding pigtails that are caused by trapped debris.
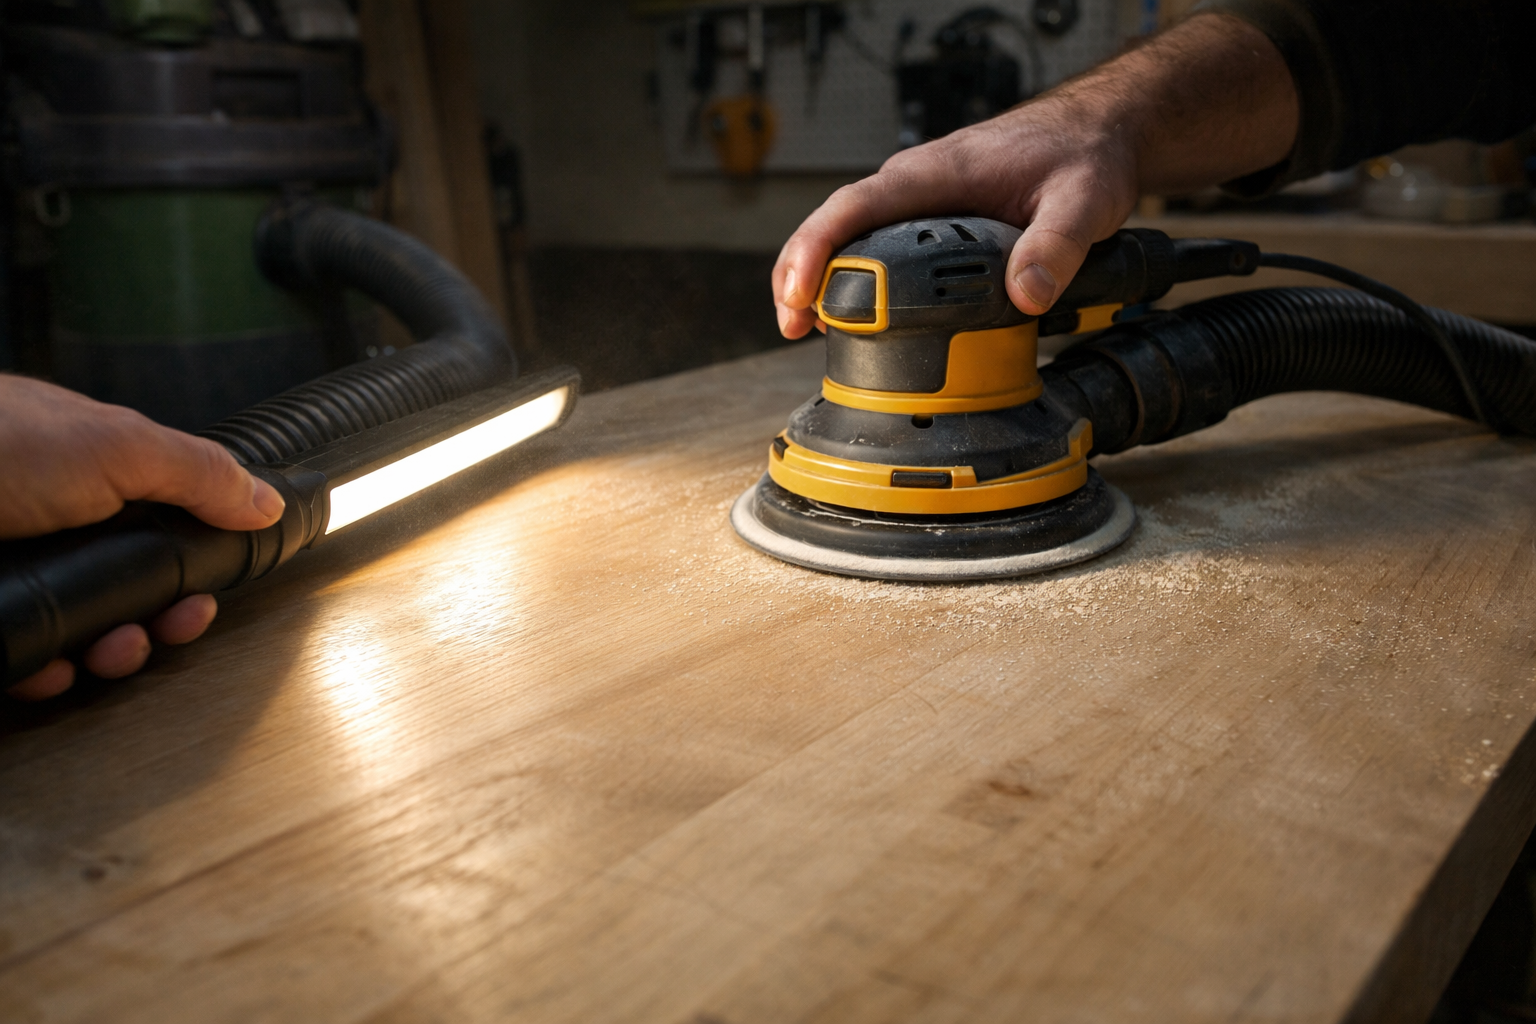
Step 4: Inspect the Surface With Angled Light
Ranking light shows hidden sanding swirl marks just before finishing.
Step 5: Replace Sanding Discs Early
Dull abrasives generate an inconsistent cutting pattern that usually produces sanding scratches.
High-quality abrasive discs made for woodworking applications can significantly reduce uneven scratches.
Wet Sanding vs Dry Sanding vs Polishing – Which Reduces Swirl Marks Best?
Dry sanding with a complete grit progression reduces sanding swirl marks, while polishing removes micro-scratches left right after sanding. Wet sanding is usually used for automotive finishing rather than for woodworking surfaces.
| Method | Best Use | Swirl Risk | Surface Type |
| Dry Sanding | Wood preparation | Moderate if the technique is poor | Wood |
| Wet Sanding | Automotive paint correction | Low when controlled | Coatings |
| Polishing | Final surface correction | Removes micro-scratches | Clear coat |
Professionals sometimes finish surfaces using a random orbit sander for polishing, but the right compound selection is important to avoid leaving new orbital sander swirl marks.
How to Remove Existing Sanding Swirl Marks
Getting rid of sanding swirl marks requires returning to a coarser grit level and re-leveling the surface evenly.
Correction Process
- Assess the depth of the scratches
- Return to a coarse abrasive grit.
- Sand evenly all across the entire surface.
- Clean the surface thoroughly.
- Reapply the finish after confirming the scratches are removed.
Why Do Swirl Marks Remain After Polishing?
Sanding swirl marks stay after polishing when the sanding scratches are deeper than the cutting ability of the polishing compound. If the wrong pad or compound is used when polishing with a random orbital sander, visible swirl patterns might be present.
Proper Setup for Polishing
- Cutting pads remove deeper scratches.
- Polishing pads refine the surface.
- Finishing pads create a smooth gloss surface.
Professionals finishing systems usually follow the guidelines that are similar to those that are recommended in surface finishing documentation from manufacturers like 3M.
How to Choose the Right Orbital Sander and Abrasives
Selecting a quality random orbital sander paired with appropriate abrasives is essential for minimizing swirl mark.
Professional woodworking or flooring projects require consistent sanding performance and effective dust extraction.
Decision Framework
| Project Type | Recommended Tool | Abrasive Type | Dust Control |
| Cabinet sanding | 5-inch random orbital sander | Aluminum oxide | Vacuum system |
| Hardwood floor refinishing | Floor edger + buffer | Zirconia | Dust extractor |
| Automotive finishing | Dual-action polisher | Foam pads | Controlled environment |
Balanced motors, stable backing pads, and uniform abrasive grains reduce vibration patterns that contribute to sanding swirl marks. Industrial sanding systems and abrasives designed for consistent cutting performance are available through manufacturers such as MaxXT.
When Should You NOT Use a Random Orbital Sander?
Random orbital sanders are specifically made for surface finishing, not for aggressive material removal. If the job involves heavy material removal or severe surface damage, alternative tools are far more effective.
For instance:
- If you need to remove thick varnish, use a belt sander first.
- If flattening warped boards, use a planer.
- If deep gouges are there, start with coarse sanding correction.
- When polishing automotive clear coats, use a specific dual-action polisher.
- If sanding metal aggressively, use an angle grinder.
Using the wrong tool increases the risk of orbital sander marks and inconsistent surfaces.
Safety and Dust Control Standards
Proper dust extraction and respiratory protection are essential during sanding operations to maintain safe air quality. When sanding wood indoors, dust extraction and respiratory protection are recommended.
Recommended safety measures usually include:
- Vacuum dust extraction systems
- HEPA filtration
- Respiratory protective equipment
Professional Surface Inspection Checklist Before Finishing
Inspecting the surface with a sharp eye before finishing helps determine sanding swirl marks.
Checklist:
- Perform a raking light inspection.
- Clean the surface with a tack cloth.
- Apply a test stain patch.
- Check for flatness and consistent sanding patterns.
These steps help avoid visible sanding marks after staining.
Frequently Asked Questions
How to avoid swirl marks with an orbital sander?
To avoid orbital sander swirl marks, first, you need to use a gradual grit progression with subtle pressure and clean and sand the discs thoroughly. Check the surface under angled lighting between sanding passes and replace worn abrasives early to reduce visible sanding swirl marks.
What grit sandpaper removes orbital sander swirl marks?
Start with 80 or 120 grit to remove visible swirl marks, then progress through 150 and 180 grit for a smooth finish. The exact starting grit depends on scratch depth.
Why do I still have swirl marks even after polishing?
Polishing compounds are prone to removing shallow scratches. If the original sanding defects are deeper, additional sanding correction is needed just before polishing.
Conclusion
Orbital sander swirl marks are generally caused by sanding process errors rather than tool defects.If visible sanding marks after staining are still visible, the most reliable solution is to return to an earlier sanding stage and correct the scratch pattern just before finishing it.
MaxXT Tech is a professional Chinese manufacturer and supplier of the finest orbital sanders, abrasives, and dust extraction systems for woodworking, flooring, and surface finishing industries. For OEM partnerships, bulk purchase, or technical consultation, make sure to visit MaxXT-Tech and get a free consultation.