TL;DR
- Skipping grit levels during sanding or using improper pressure are the primary causes of orbital sander swirl marks.
- By following a complete car refinishing process of prep, cut, polish, and finish, swirl marks are effectively eliminated when carried out properly.
- You can avoid expensive redoing by choosing the right pads and random orbital polishers at each stage.
- Only proper inspection between stages will help detect sanding marks before they are sealed under a finish.
- Following a well-thought-out checklist will ensure continuous, professional results for every job.
Contenido de esta guía
This guide provides a step-by-step automotive refinishing checklist to prevent and repair orbital sander swirl marks. It is intended for detailers and DIY enthusiasts who want clean swirl-free paint finishes on every job.
¿Qué causa las marcas circulares en las lijadoras orbitales?
Orbital sander swirl marks are circular micro scratches caused by inconsistent sanding patterns or incorrect grit progression.
An incorrect sanding technique or tool can leave visible marks and pockmarks after finishing. These defects often become visible after a stain or clear coat is applied.
Causas comunes de las marcas circulares de lijado
- Skipping grit levels forces fine abrasives to remove scratches they cannot cut.
- Worn or clogged sanding discs lose cutting ability and drag across the surface.
- Uneven downward pressure disrupts consistent abrasive contact.
- Surface contamination trapped under the pad creates sanding pigtails.
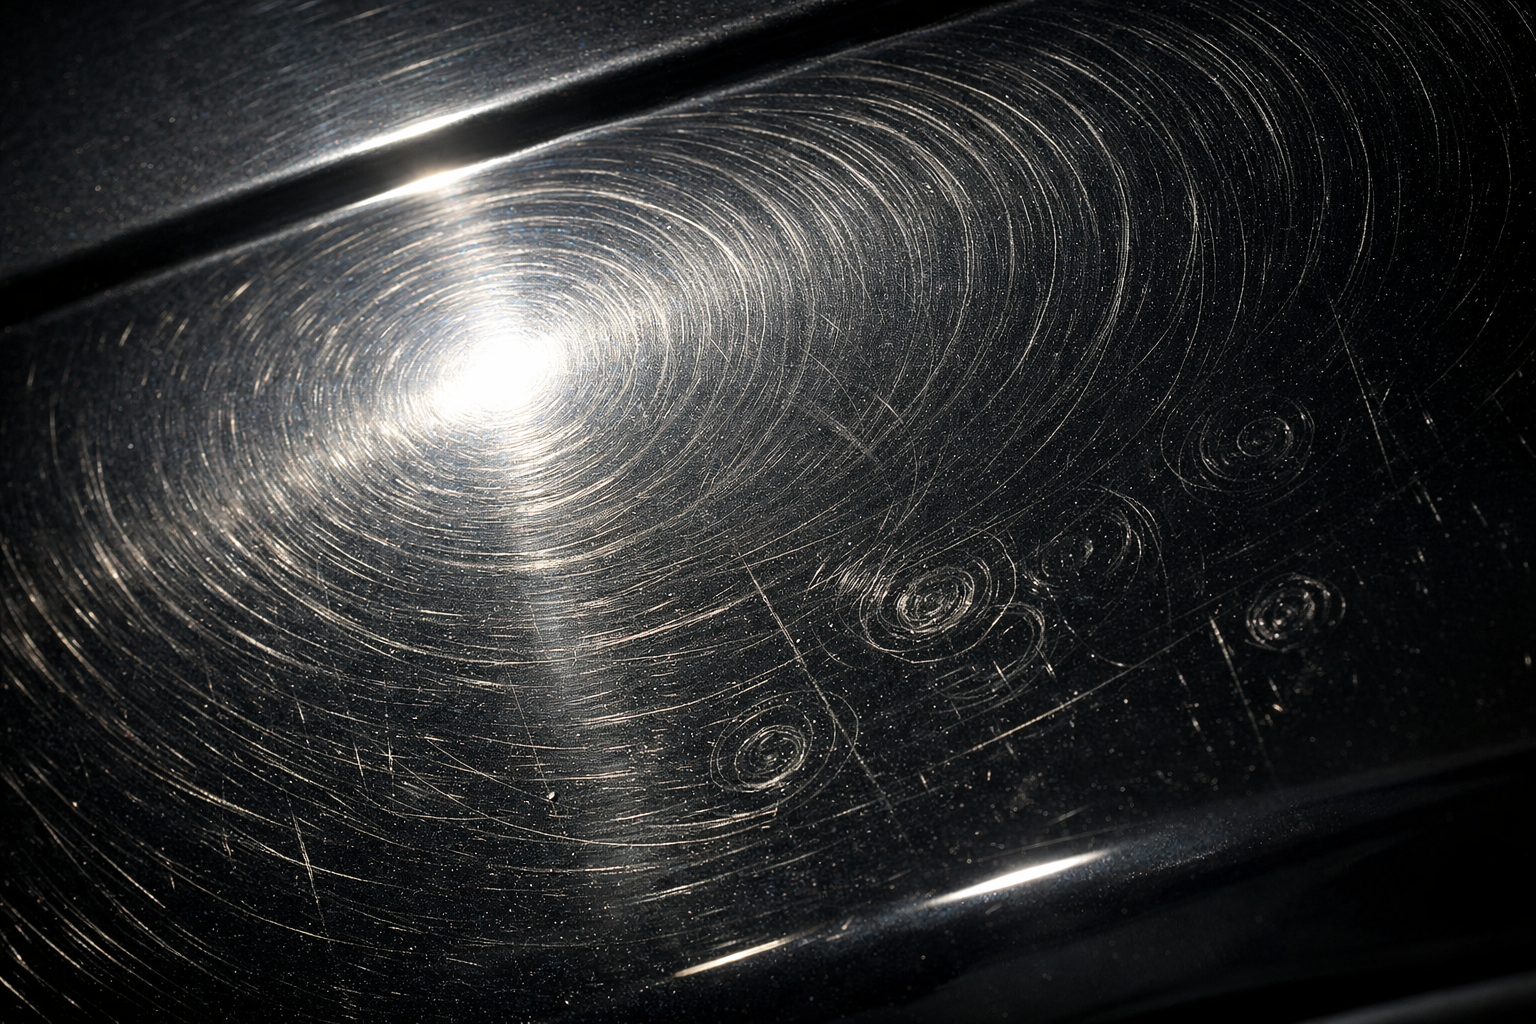
¿Qué son las marcas de lijado en espiral y las marcas de la lijadora orbital?
Sanding pigtails are tight spiral scratches that form when a particle becomes trapped between the sanding disc and the panel surface. As the disc spins and orbits, the particle cuts the same circular path into the paint.
Pigtails differ from general swirl marks because they are caused by contamination rather than overall technique. Both defects must be corrected before finishing.
Lista de herramientas y comparación de equipos
Essential tools include dual-action orbital sanders for leveling, random orbital polishers for correction, foam/wool pads for finishing, and LED inspection lights for defect detection – each stage requires specific equipment to prevent swirl marks.
Categorías de herramientas principales
- Surface Prep: Degreasers, panel wipes, microfiber cloths, clay bars
- Sanding Equipment: Dual-action orbital sanders, backing pads
- Polishing Machines: Random orbital polishers, rotary polishers
- Compounds & Pads: Cutting compounds, polishing compounds, foam/wool pads
- Inspection Tools: LED swirl-finder lights, cross-lighting
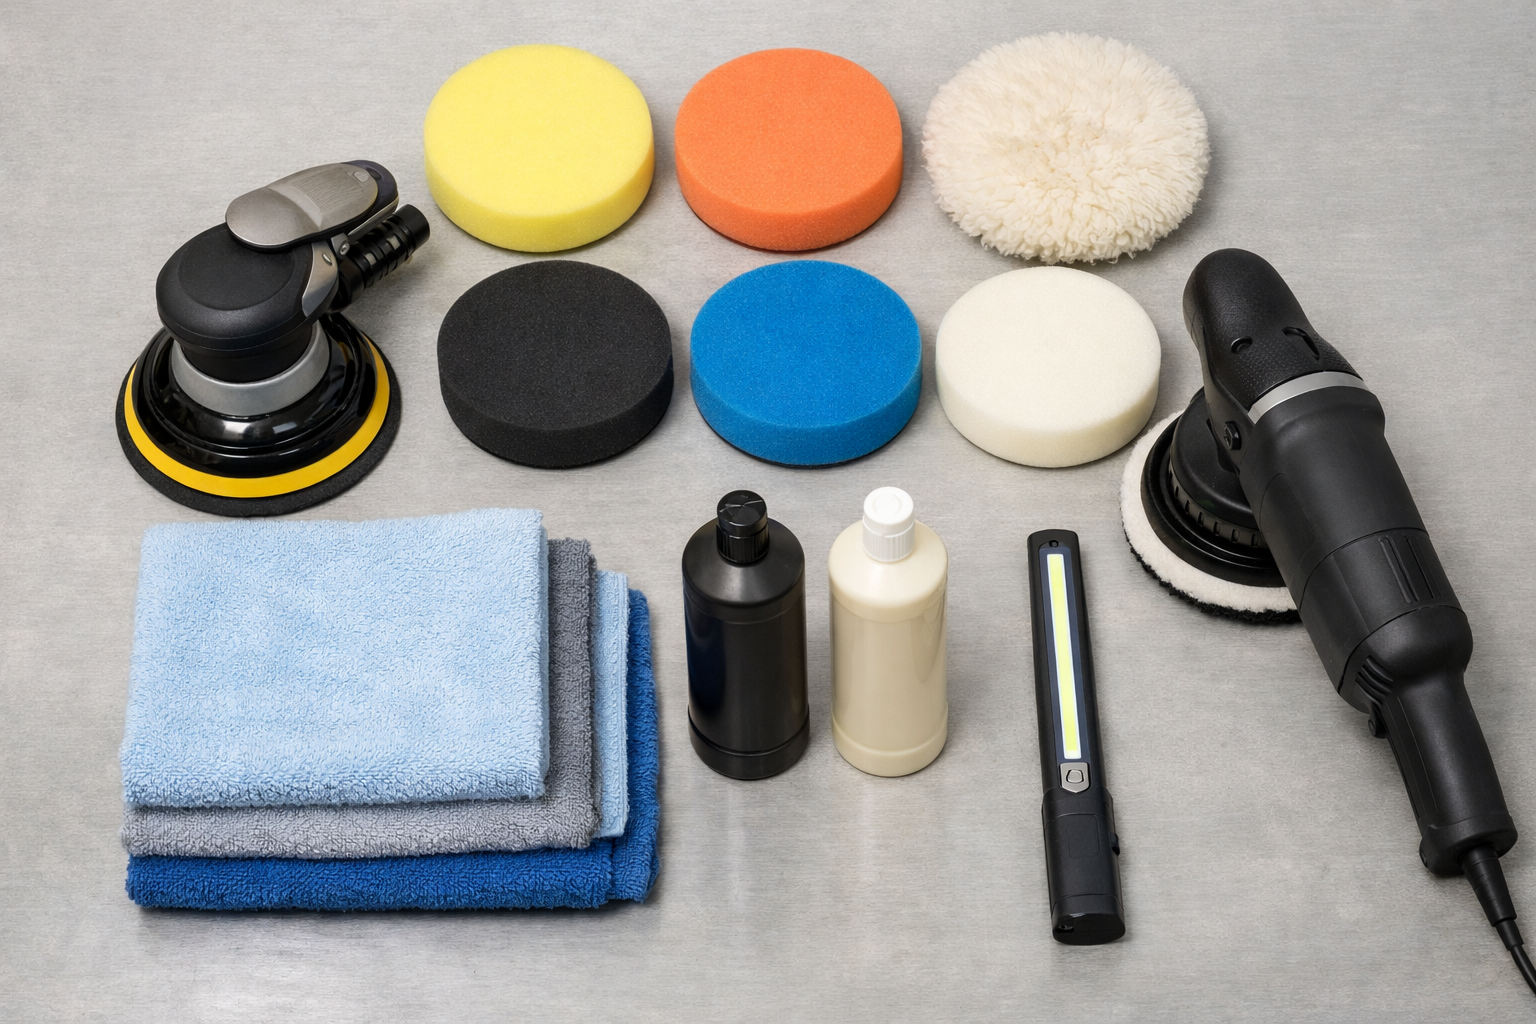
Tabla comparativa de herramientas
| Tipo de herramienta | Caso de uso | Key Advantage | Primary Risk |
| Lijadora orbital | Surface material removal and paint leveling | Easy to control across large panels | Swirl marks if the grit sequence is skipped |
| Pulidora rotativa | Heavy paint correction and scratch removal | Fast cutting speed on deep defects | Holograms and burn marks without experience |
| Aleatorio Orbital Polisher | Correction and final finishing | Low hologram risk, safe for all skill levels | Slower on severe defects than rotary |
Cómo evitar las marcas de lijado antes de que aparezcan.
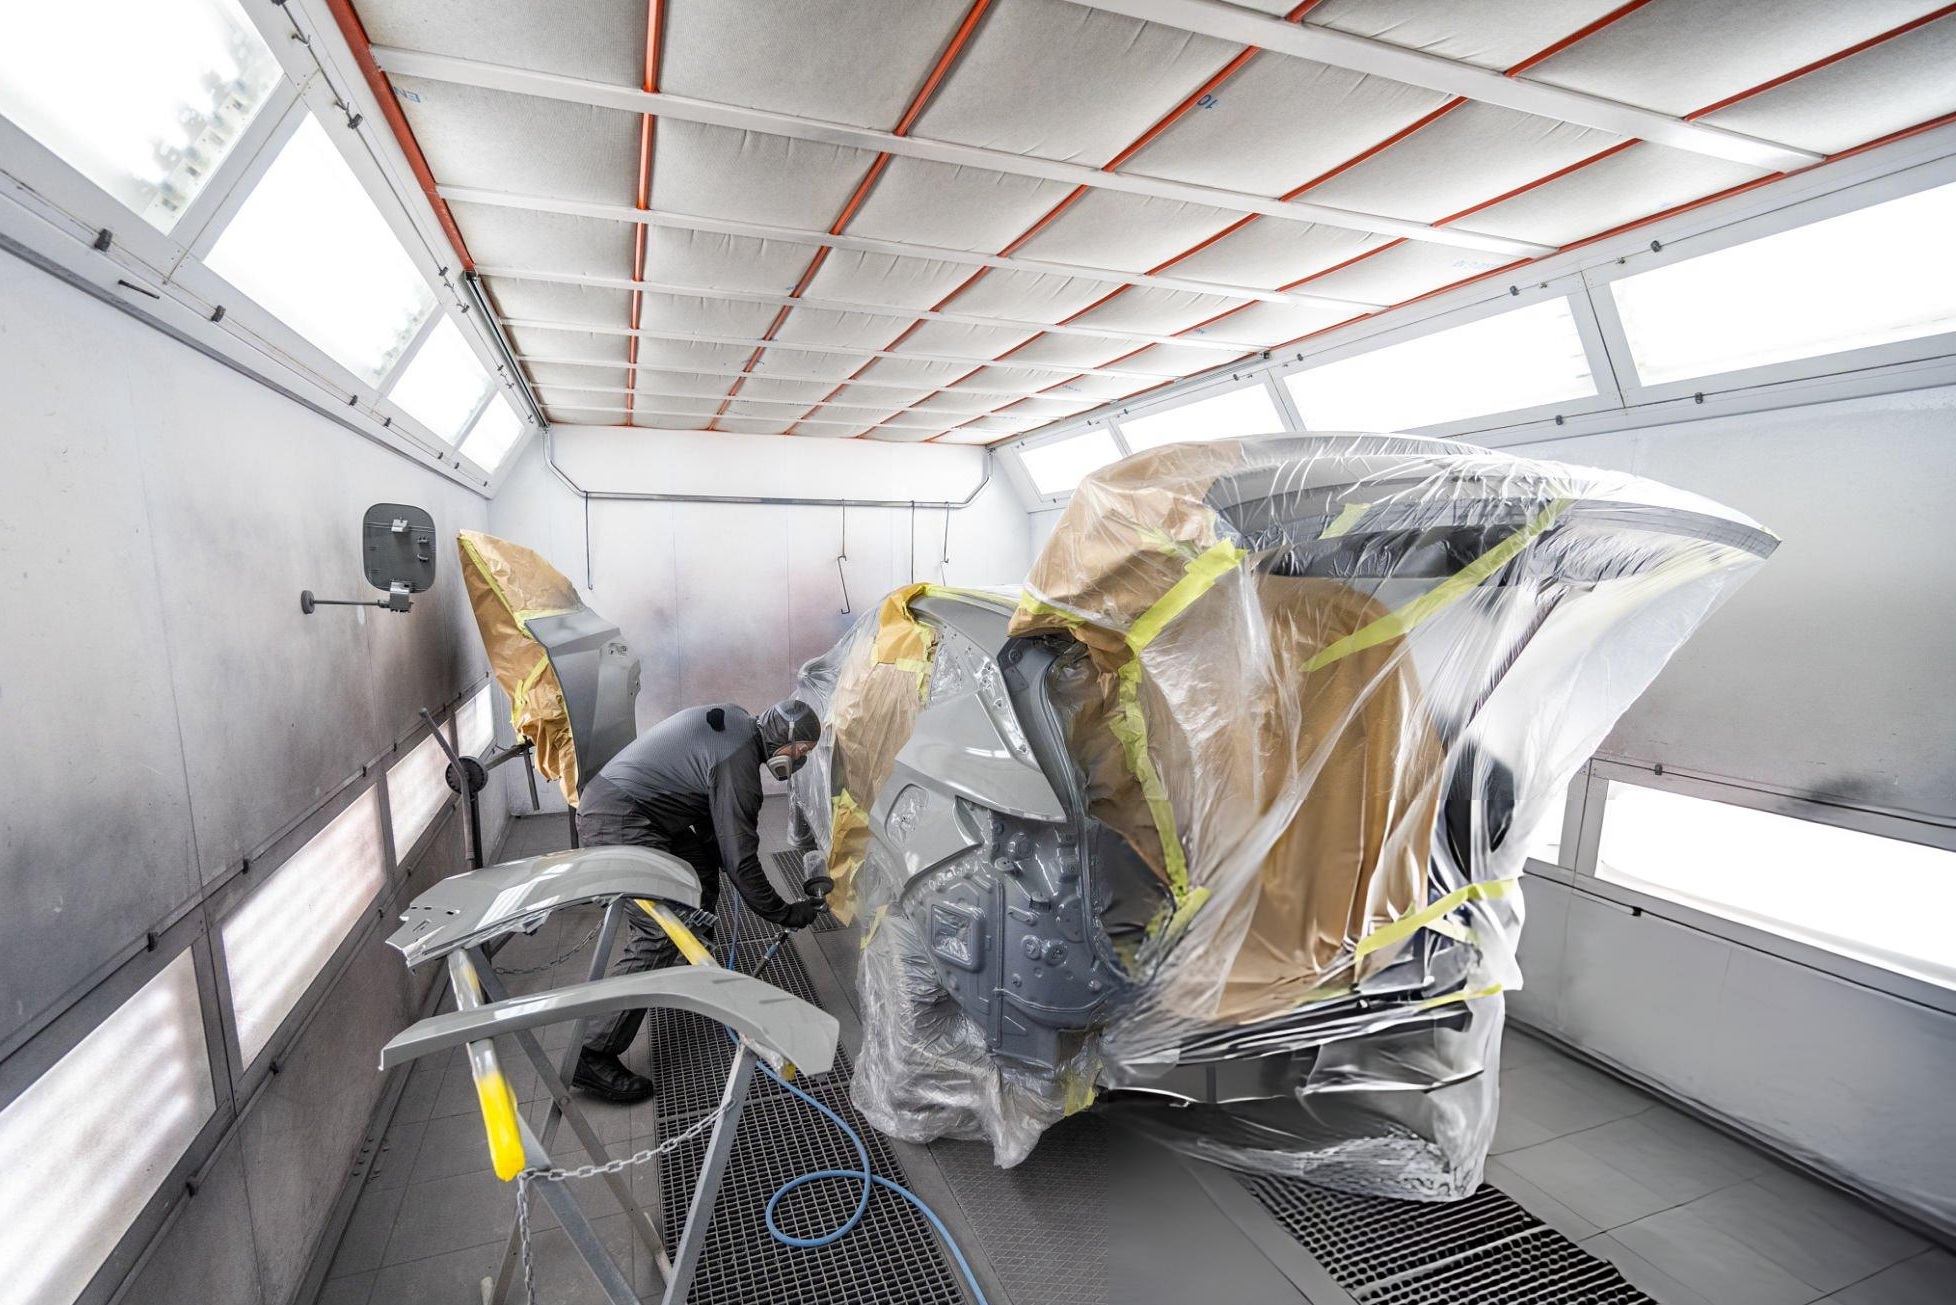
Prevent sanding marks by completing a 4-step prep process: wash panels with pH-neutral shampoo, degrease with 70%+ IPA solution, inspect under raking light for defects, and mask adjacent surfaces – contamination or existing scratches will worsen with every sanding pass. If a surface is contaminated or has existing defects, sanding will only make these problems worse at every stage.
Proceso de preparación paso a paso
- Wash the entire panel with a pH-neutral shampoo to remove road film and loose debris.
- Degrease the surface by using an isopropyl alcohol solution to lift wax, silicone or polish residues.
- Examine the panel under raking light to identify scratches or chips and other imperfections that need to be repaired before sanding.
- Trim the edges of the glass so that they don’t get accidentally scratched during the sanding of the panel.
Herramientas para la etapa de preparación
- Panel degreaser or an IPA solution (70% concentration minimum for effective residue removal)
- Microfiber cloths (use one cloth per panel to avoid cross-contamination)
- Clay bar with lubricant for bonded contamination that washing does not remove
- Surface inspection light angled at 15–30 degrees to reveal sanding marks invisible under flat lighting
Cómo lijar sin crear marcas circulares
Controlled sanding and proper grit sequencing are critical.
Proceso de lijado paso a paso
- P800 grit is your starting point if you have a primer covering the panels, oxidation that is too heavy, or surfaces with a lot of defects.
- After that, use P1500 to smooth out the P800 scratch pattern. Only afterward should you move on to finishing grits.
- Your sanding sequence should end at P3000 – scratches at this level should be thin enough for a cutting compound to remove them, even without machine polishing.
- Checking with cross-lighting after each grit change is a good way to ensure you are not progressing until the previous scratches are gone.
Mejores prácticas
- Change sanding discs before they are completely worn out to keep the right cutting performance. A dull disc will drag and result in swirl marks.
- Always keep the surface wet with enough lubricant during wet sanding. This will also help lower the temperature and prevent the paper from loading.
- Lower your speed and pressure on the edges to avoid damaging the thin paint.
- Do not put extra pressure on the downward movement since the abrasive should be doing the work.
Cómo eliminar eficazmente las marcas circulares del lijado
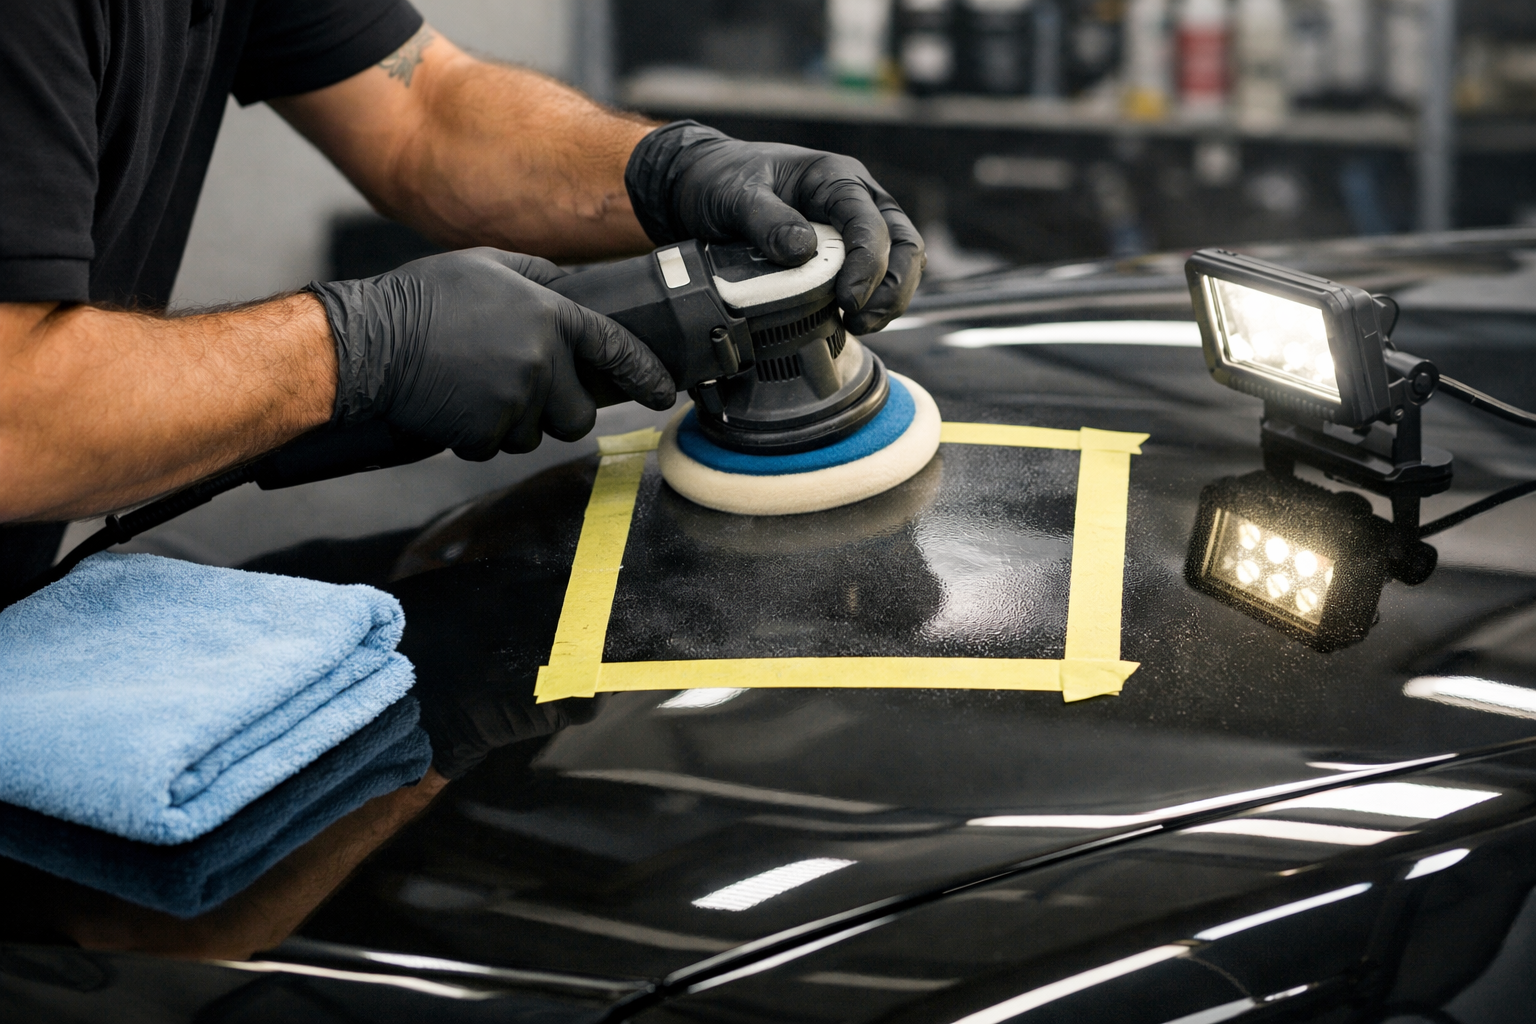
Remove swirl marks through a 4-step polishing process: match compound to scratch depth, choose wool pads for heavy cutting or foam for heat-sensitive surfaces, work in 40×40 cm sections with overlapping passes, and cross-light inspect after each stage before sealing. Hurrying this step or using an inappropriate pad will be disastrous as it may result in unwanted swirl marks or produce holograms.
Proceso de pulido paso a paso
- Choose a compound according to the depth of the scratches.
- For faster cutting, go with a wool pad or a foam one in case the heat needs to be kept at a minimum and holograms need to be reduced.
- Divide your work into 40×40 cm sections. Use medium speed and overlap passes.
- Wipe off residue and cross-light inspection before proceeding.
Pulido con pulidora orbital aleatoria frente a pulidora rotativa
By mixing both spinning and orbiting motion, a random orbital polisher distributes abrasive contact over a larger path, which means fewer risks of holograms and burn marks when compared with a rotary polisher.
Cómo lograr una superficie final sin remolinos
The finish stage removes micro-swirls introduced during cutting and refines the surface to full gloss clarity. If the finishing polish or pad selection is incorrect, fine swirl marks will remain visible under direct sunlight even after the panel appears clean under workshop lighting.
Lista de verificación de acabado final
- Apply a fine finishing polish rated for zero-cut or ultra-low cut — not the same compound used in the cutting stage.
- Use a soft foam finishing pad at low machine speed (speed 2–3) to avoid reintroducing abrasion marks.
- Wipe the panel with a clean microfiber cloth using straight, overlapping strokes rather than circular motions.
- Perform a final inspection under LED swirl-finder lighting at multiple angles before applying any sealant or wax.
Solución de problemas de marcas circulares después del pulido
| Problema | Likely Cause | Solución |
| Swirl marks are still visible | Skipped grit or incomplete sanding | Return to proper grit progression |
| Holograms after polishing | Rotatory misuse or aggressive pad | Switch to random orbital + softer pad |
| New swirl marks are appearing | Dirty or loaded pad | Clean or replace pads frequently |
| Micro-marring | Excessive speed or pressure | Reduce speed and pressure |
| Uneven finish | Inconsistent polishing passes | Use overlapping, controlled movements |
¿Cuándo NO se debe usar una lijadora orbital?
| Condition | Recommended Action |
| Working on panel edges or body lines | Switch to hand sanding with a backing block to maintain control. |
| Paint film thickness is below the safe sanding depth. | Measure film thickness before sanding; avoid machine sanding on thin areas. |
| Deep isolated scratches require repair. | Use controlled spot repair rather than sanding the entire panel. |
| Surface material is soft or flexible. | Use finer grit only and reduce the machine speed significantly. |
| High-gloss factory finish must be preserved. | Minimize sanding steps; move directly to polish correction if possible. |
Preguntas frecuentes
¿Cómo evitar las marcas circulares con una lijadora orbital?
Follow a proper grit progression and avoid skipping levels. Apply light even pressure and replace worn sanding discs. Inspect after each grit change before moving to a finer grit.
¿Cómo eliminar las marcas de la lijadora?
Start with a coarse enough grit to remove the scratches. Re-sand evenly and follow the full grit sequence. Do not rely on polishing alone for deep marks.
¿Por qué siguen apareciendo marcas circulares después de pulir?
The scratches are deeper than the compound can remove. Use a more aggressive pad or compound. Return to sanding if needed and refine the surface before polishing again.
¿Qué velocidad debo usar en una lijadora orbital para evitar marcas circulares?
Use variable speed settings based on grit: lower speeds (1-2) for coarse grits (P800-P1500) to prevent heat buildup, medium speeds (3-4) for finishing grits (P2000-P3000). High speed increases the risk of burning through clear coat on edges and creating deeper scratches.
¿Puedo eliminar las marcas circulares a mano o necesito una pulidora?
Light swirl marks from P3000 grit can be hand-polished using a finishing compound and foam applicator pad in straight overlapping strokes. However, deeper marks from P1500 or P2000 require a random orbital polisher for effective removal – hand polishing alone won’t generate enough cutting action.
Conclusión
Lijadora orbital swirl marks are caused by process errors, not the tool. Each stage from prep to finish must be completed fully before moving forward. Skipping steps or rushing the process allows defects to remain.
Tools matter, but technique and sequence matter more. Incorrect compound choice or machine speed can still create swirl marks. A proper workflow ensures consistent and repeatable results.
Trabaje con un fabricante profesional de herramientas para automóviles.
Manufacturers like Máximo XT provide OEM/ODM support, bulk supply, and high-quality sanding and polishing tools. Partnering with MaxXT ensures access to professional-grade automotive tools, consistent quality, and reliable customer support.
High-quality products empower dealers, body shops, and enthusiasts to deliver swirl-free, professional finishes consistently. Visit MaxXT and request a free quote.