
Основные выводы
The global car detailing service market was valued at $46.7B in 2025 and projected to reach $81.2B by 2035 (Global Market Insights, 2026), with paint correction as one of its highest-margin exterior services.
Swirl marks are removed, not hidden, by leveling the surrounding clear coat down to the depth of the defect — this requires matching pad, compound, and speed to the correction stage, not running one combination for the whole job.
The single most common technique failure reported by DA polisher distributors is running heavy cutting compound at low speed, which glazes the compound instead of breaking it down and leaves swirls only partially corrected.
A 5-inch/125mm backing plate is the standard choice for most correction work; 3-inch/75mm plates handle tight body lines, and 6-inch/150mm plates increase output on large flat panels for high-volume shops.
Swirl marks — the fine, circular micro-scratches that appear as a spider-web haze under direct sunlight — are the single most common paint defect complaint your customers bring to a detail bay. They come from improper washing, automatic car washes, and abrasive drying towels, and they sit shallow enough in the clear coat that a dual action (DA) polisher can remove them without the burn-through risk of a rotary machine.
Swirl mark removal is a controlled abrasion process: a cutting pad and compound level the clear coat surface down to the depth of the deepest scratch in the affected area, then progressively finer pads and polishes restore clarity and gloss. The car detailing service market was valued at $46.7 billion in 2025 and growing at a 5.6% CAGR through 2035 (Global Market Insights, 2026), with paint correction and polishing consistently cited as one of the highest-margin exterior services shops offer. Distributors who can explain the pad-compound-speed relationship — not just sell the machine — convert more inquiries into repeat wholesale accounts.
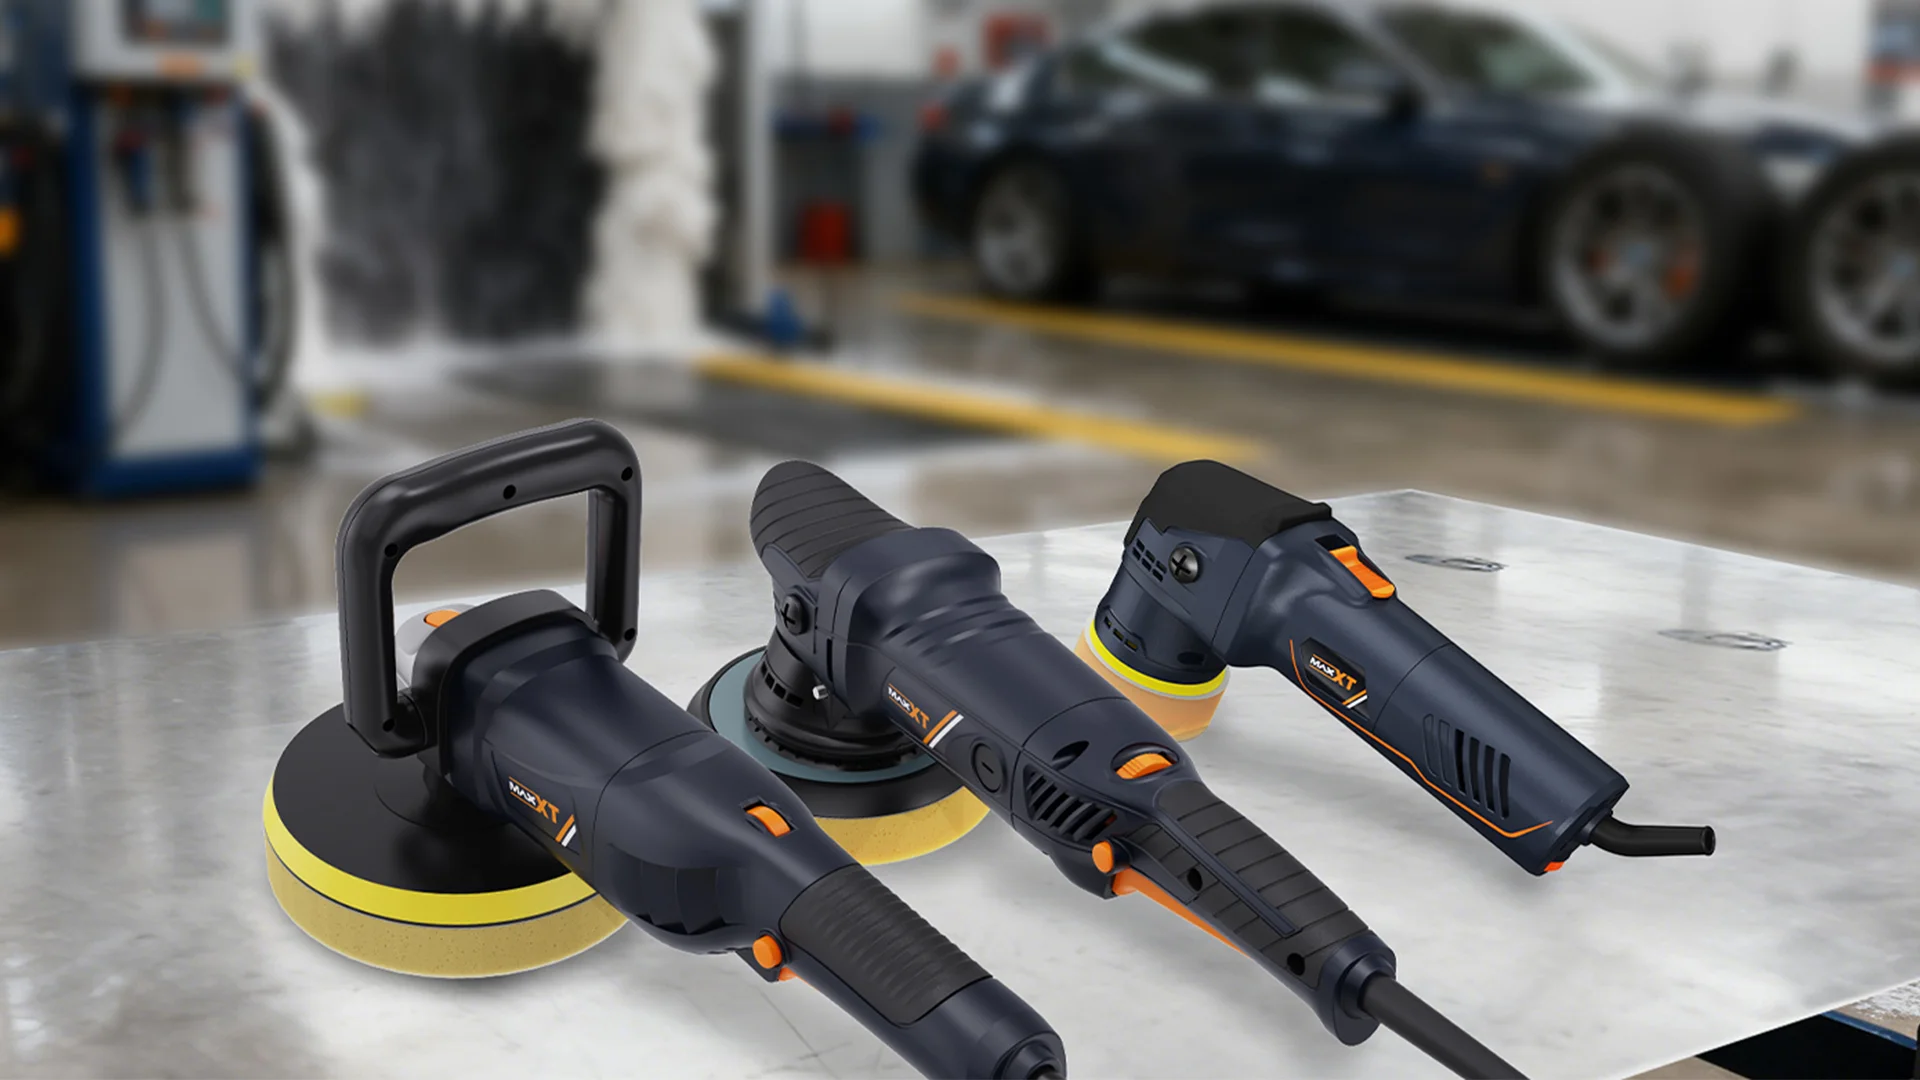
This guide is written for you, the distributor, not the end customer. Your buyers already know what a DA polisher is. What differentiates you from a commodity supplier is the ability to walk a shop owner through why their correction results are inconsistent, which pad system fits their volume, and which MaxXT model matches their panel mix. MaxXT’s wholesale dual action polisher lineup spans 3-inch, 5-inch, and 6-inch backing plate configurations to cover detail shops from mobile single-operator setups to high-volume body shop bays.
How to Diagnose Swirl Severity Before You Start?
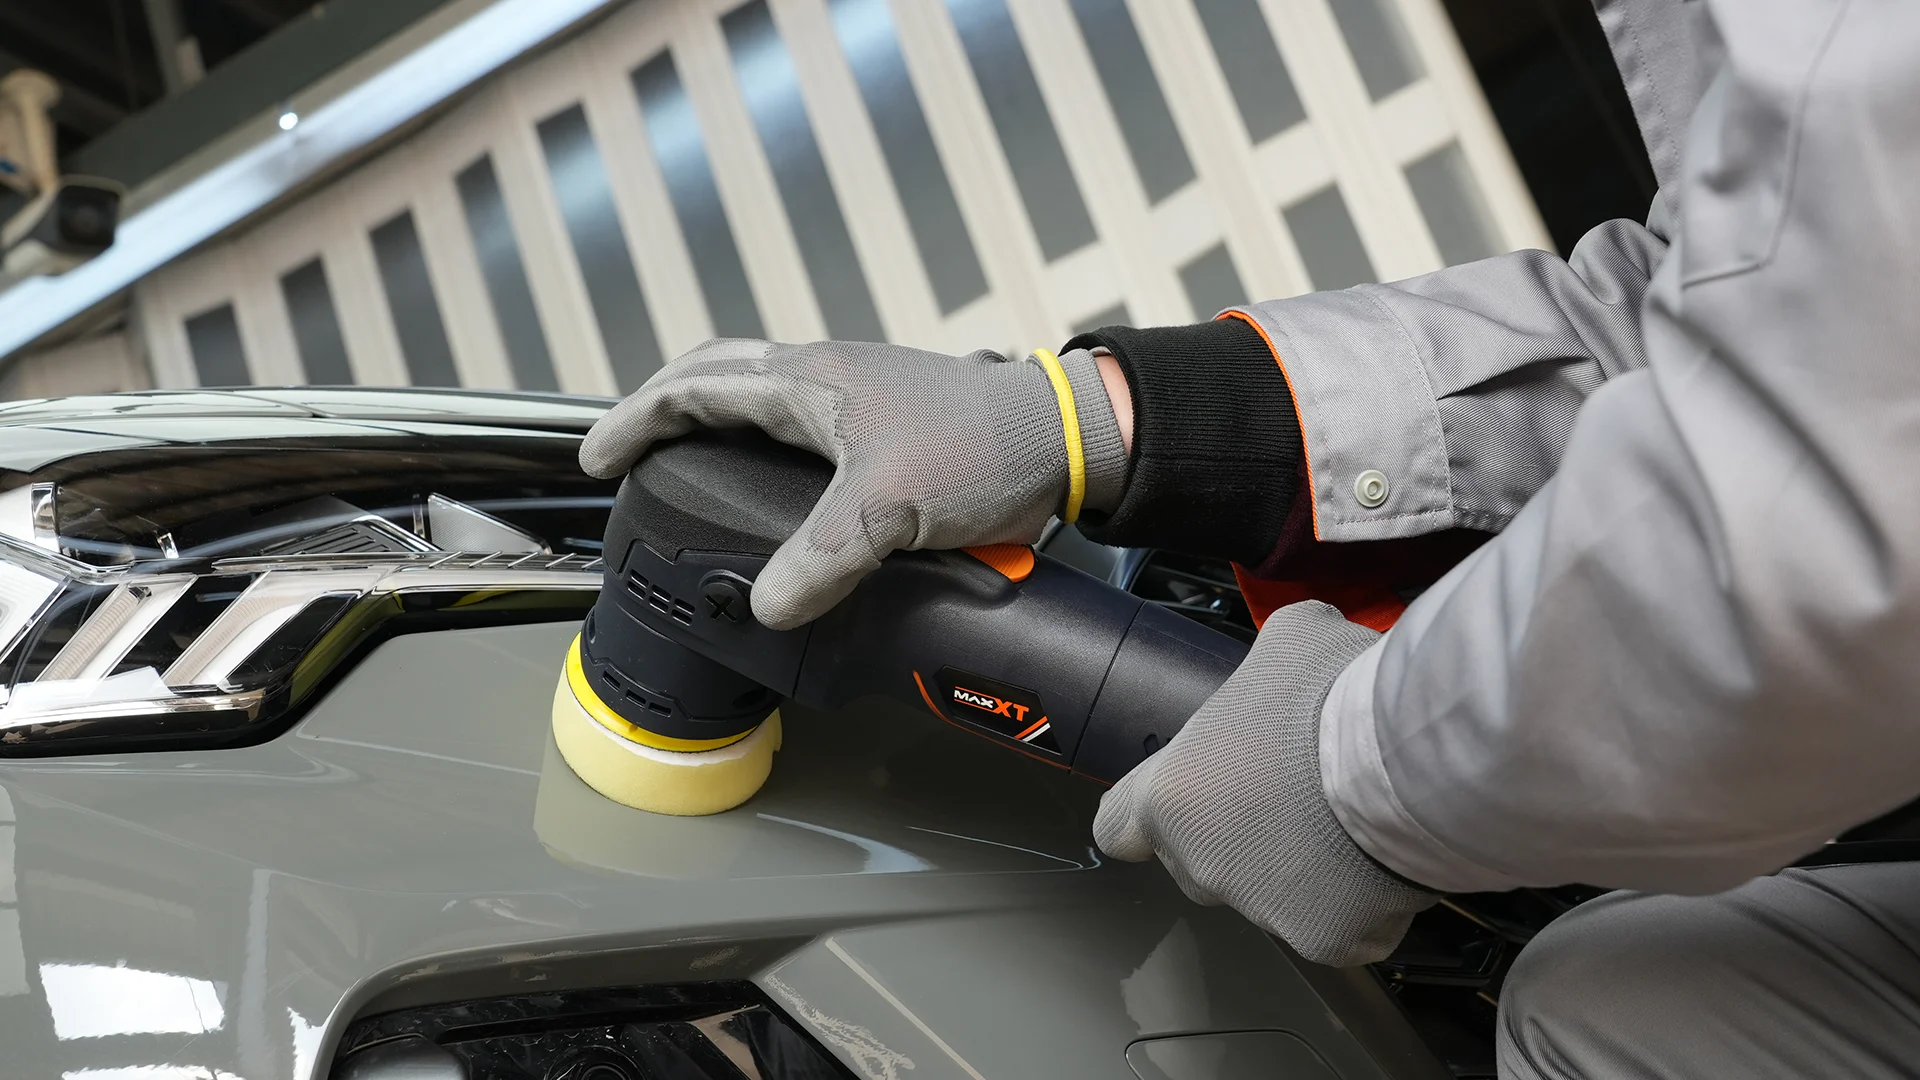
Not every swirl mark needs the same correction depth, and treating a light haze the same as deep scratching wastes compound, adds unnecessary heat cycles, and risks removing more clear coat than the defect requires. Severity diagnosis under a raking light or dedicated swirl-finder lamp is the step most DIY guides skip and most professional workflows lead with.
What this means for you: When a customer asks “what polisher do I need,” the honest answer depends on what they’re correcting. A shop that only sees light wash-induced swirls can run a lighter compound program; a shop taking in used-car reconditioning work with oxidation and deeper scratching needs a heavier cutting stage and should be steered toward a larger backing plate for faster panel coverage.
| Severity | Visual Test | Typical Cause | Correction Approach |
|---|---|---|---|
| Light haze | Visible only under direct sun or LED at an angle | Automatic car wash brushes, improper drying towels | Single-stage polish, no heavy cutting |
| Moderate swirling | Visible in normal indoor lighting | Repeated washes with a low-quality wash mitt | Two-stage: medium cut, then polish |
| Heavy scratching | Visible without raking light; catches fingernail lightly | Neglect, abrasive contamination in wash media | Three-stage: heavy cut, medium cut, polish/finish |
| Base coat penetration | Fingernail catches distinctly; color visible in scratch | Physical damage, severe neglect | Not correctable by polishing — refer to respray |
Severity classification reflects industry-standard detailing practice; always confirm scratch depth relative to clear coat thickness before beginning correction.
The fingernail test is a quick field check your customers already use, but it is not a substitute for proper paint thickness gauge readings on vehicles with unknown refinish history. Recommend a paint thickness gauge as an add-on sale for any shop doing regular correction work on used or previously repaired vehicles — correcting into a thin respray panel is one of the most expensive mistakes a detailer can make.
How Pad, Compound, and Speed Work Together in a Correction System?
Correction failures are rarely caused by a bad machine — they are caused by mismatching one variable in the pad-compound-speed system while holding the others fixed. Foam and hybrid pads follow the widely used color-coding convention (yellow/orange for cutting, green/white for polishing, black for finishing), and each pad is engineered to work at a specific speed range with a matching compound aggressiveness.
What this means for you: When a customer reports “the compound just smears and doesn’t cut,” the answer is almost never a defective machine — it’s an OPM setting too low to break down the abrasive, or a compound too aggressive for the pad. Walking a customer through this diagnostic over the phone turns a return request into a repeat sale of the correct pad or compound.
| Этап | Pad Type | Compound Aggressiveness | Recommended Speed | Цель |
|---|---|---|---|---|
| Cutting / Compounding | Wool or firm foam (yellow/orange) | Heavy or medium cut | Speed 4-5 (~4000-4800 OPM) | Level clear coat to remove the defect |
| Полировка | Medium foam (green/white) | Light-medium polish | Speed 3-4 (~3200-4000 OPM) | Remove haze left by the cutting stage |
| Завершение | Soft foam or microfiber (black) | Finishing polish or glaze | Speed 2-3 (~2400-3200 OPM) | Maximize gloss and clarity before protection |
OPM ranges are representative; always confirm against the specific machine’s speed dial markings, as dial numbers vary by manufacturer.
Pad material matters as much as color grade. Foam pads are the most forgiving and widely stocked, wool pads cut faster but leave more haze requiring a longer polishing stage, and microfiber (hybrid) pads combine aggressive cutting ability with a finish closer to foam — a useful middle option for shops that want to reduce the number of stages without sacrificing correction quality. Diminishing-abrasive compounds, which break down into finer particles as they’re worked, are increasingly the default choice because a single product can partially bridge the cutting and polishing stages.
Priming the pad — applying a few drops of compound and spreading it evenly across the face at low speed before starting the correction pass — prevents the pad from immediately slinging product off the panel and is a technique detail your customers may not know unless you or the compound manufacturer tells them.
What Is the Step-by-Step DA Polisher Correction Process?
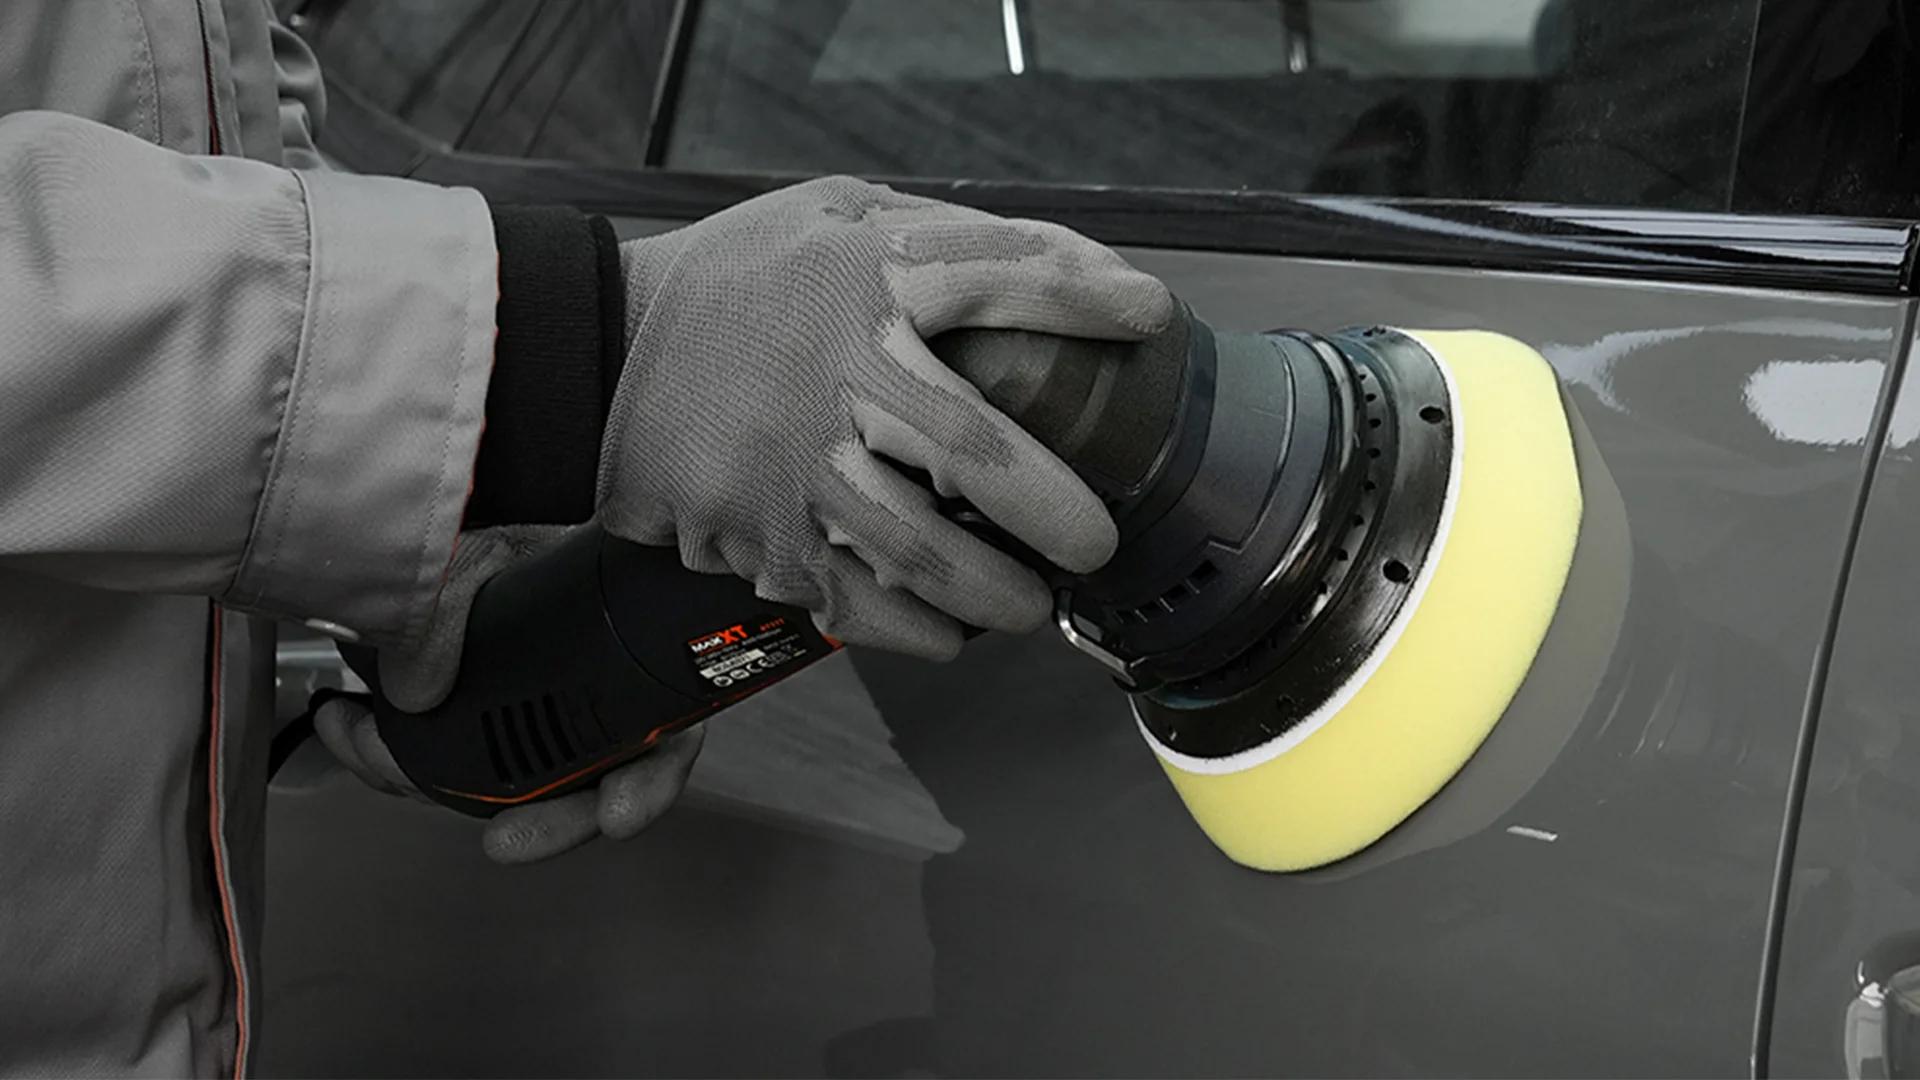
The correction workflow itself is straightforward once the pad-compound-speed matrix is understood — the technique details that separate a clean result from a re-marred panel are in the application pattern, pass count, and heat management, not the tool.
What this means for you: Most of the process below is what your customers already know or can find in any tutorial. The value you add is in the details most tutorials skip — pad cleaning cadence, heat limits, and the difference between wiping off compound versus leaving haze-inducing residue behind.
- Prep the panel. Wash, clay if contaminated, and tape off trim, emblems, and rubber seals adjacent to the work area.
- Select and prime the pad. Choose the pad and compound combination matching the diagnosed severity, then prime the pad face at low speed (speed 1-2) before the first pass.
- Work in sections. Divide large panels into roughly 2-foot by 2-foot sections to maintain control and even compound distribution.
- Apply with overlapping passes. Work the section in a slow, overlapping up-and-down pattern, then a left-and-right pattern, using light to moderate downward pressure — the machine’s orbit does the cutting, not hand pressure.
- Monitor heat. If the panel feels warm to the back of your hand, pause and let it cool. Excess heat accelerates compound breakdown unevenly and increases the risk of burning through clear coat at edges and high points.
- Wipe and inspect before moving on. Remove compound residue with a clean microfiber towel and inspect the section under available light before proceeding — never assume a pass worked without checking.
- Clean the pad regularly. A pad loaded with spent compound and removed clear coat particles stops cutting effectively and can reintroduce scratches. Use a pad-cleaning brush or spur between sections.
- Step down through stages. Repeat the process with the polishing pad and compound, then the finishing pad and glaze, cleaning the panel between each stage change.
- Apply protection. Once correction is verified complete, apply a wax, sealant, or ceramic coating immediately — a freshly corrected panel has no protective barrier and is vulnerable to new marring on the drive home.
The three-stage correction system — cutting at speed 4-5 (~4000-4800 OPM), polishing at speed 3-4 (~3200-4000 OPM), and finishing at speed 2-3 (~2400-3200 OPM) — reflects standard DA polisher operating practice validated by major tool and compound manufacturers. 3M’s Perfect-It product documentation notes that foam polishing pads operate between 1200-2000 RPM on rotary tools, with finer pads and diminishing-abrasive compounds handling the finishing stages after heavier cutting media have leveled the defect (3M, 2026).
Why Swirl Marks Reappear After Polishing
A callback about swirl marks returning after a correction service is one of the most damaging complaints a shop can receive, because it implies the work didn’t hold. In nearly every case, the cause is downstream of the correction itself — either the correction was incomplete or the aftercare introduced new marring.
What this means for you: This diagnostic table is worth sharing directly with your customers as a troubleshooting resource, but its real value to you is in helping a shop identify — and sell a fix for — the root cause, rather than assuming the polisher or compound underperformed.
Dealer Diagnostic Flowchart: Why Did Swirls Come Back?
Customer says: “The swirls are back a few weeks after correction”
Ask #1: “How are they washing the car now?” → If automatic car wash or a low-quality mitt, that’s the likely cause — recommend a two-bucket hand wash method and a quality microfiber mitt.
Ask #2: “Was a wax, sealant, or coating applied after correction?” → If no protection was applied, the panel had zero re-marring resistance from day one.
Ask #3: “Were the marks fully removed originally, or just reduced?” → If the original correction skipped a full 50-50 verification, some scratching may have remained and simply become visible again under different light.
Likely outcome: Aftercare or verification gap in the large majority of cases — rarely a tool or compound defect.
How to Verify the Correction Before You Call the Job Done?
Compound carrier oils can temporarily fill and mask a scratch that hasn’t actually been leveled, which is why inspecting a panel immediately after wiping off compound residue can be misleading. Proper verification requires removing all residue and inspecting under conditions that reveal, rather than hide, remaining defects.
What this means for you: Recommend a dedicated paint-safe panel wipe or isopropyl alcohol solution as a companion product to any compound sale — it’s a low-cost add-on that directly improves your customers’ ability to deliver (and prove) a clean result.
- Wipe with a residue remover: Use a paint-safe panel wipe, not water alone, to remove all oils before inspection.
- Inspect under raking light: A dedicated swirl-finder LED lamp or direct sunlight at a low angle reveals defects that indoor overhead lighting hides.
- Run the 50-50 test: Correct half a panel, leave the other half untouched, and compare side by side — this is the standard method for demonstrating results to a customer and for confirming the correction actually worked.
- Check reflection clarity, not just gloss: A hazy panel can still look glossy under diffuse light. Sharp, distortion-free reflections under a point-source light are the real indicator of a corrected finish.
How to Choose the Right Backing Plate Size for the Job?
Backing plate diameter changes both the working speed and the heat profile of every pass, which makes plate selection a correction-quality decision, not just a convenience choice. Distributors who understand this can help customers build out a plate kit rather than selling a single all-purpose size that underperforms on some panels.
What this means for you: A shop working mostly hoods, doors, and trunk lids benefits from a larger plate for speed; a shop handling modern vehicles with sharp body lines and tight recesses needs a smaller plate on hand regardless of their primary machine. For the full mechanics of plate size, thread compatibility, and heat buildup, see our Backing Plate Size Guide for DA Polishers.
| Plate Size | Лучше всего подходит для | Trade-off |
|---|---|---|
| 3″(75mm) | Tight body lines, mirrors, recessed handles on modern vehicles | Slower overall panel coverage |
| 5″(125mm) | Standard correction work across hoods, doors, fenders | The balanced default for most shops |
| 6″(150mm) | Large flat panels, high-volume reconditioning | Generates more heat; less control in tight areas |
Panels with sharp character lines or recessed trim require a smaller plate regardless of the primary machine used for open panels — see the linked backing plate guide for full sizing logic.
How to Choose the Right Dual Action Polisher for Your Product Line?
MaxXT’s dual action polisher lineup covers the three backing plate sizes shops need for full-coverage correction work, all built around the same 710W motor platform with a 1/2″ (12mm) orbit for the 3-inch and 5-inch models.
What this means for you: Stocking all three plate sizes as a system — rather than a single general-purpose unit — lets you sell a complete correction kit instead of one machine, increasing average order value per dealer account.
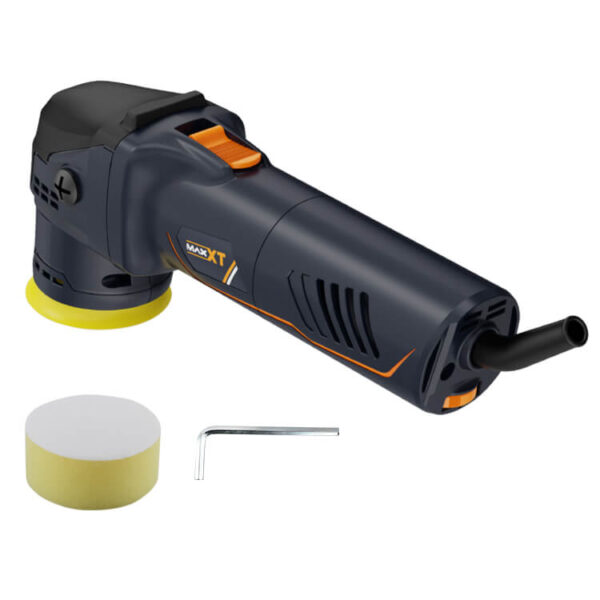
MaxXT MOP71012-3 3″ Dual Action Polisher
710W, 4000-5500rpm, 3″(75mm) backing plate with 1/2″(12mm) orbit — the precision choice for tight body lines, mirrors, and recessed trim on modern vehicles.
View product page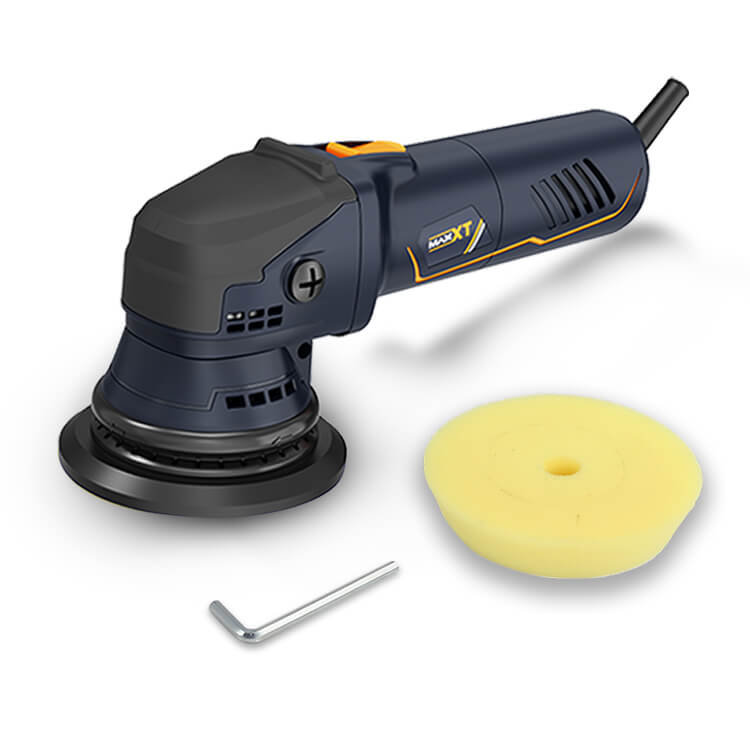
MaxXT MOP71012-5 5″ Dual Action Polisher
710W, 4000-5500rpm, 5″(125mm) backing plate with 1/2″(12mm) orbit — the balanced default for standard correction work across hoods, doors, and fenders.
View product page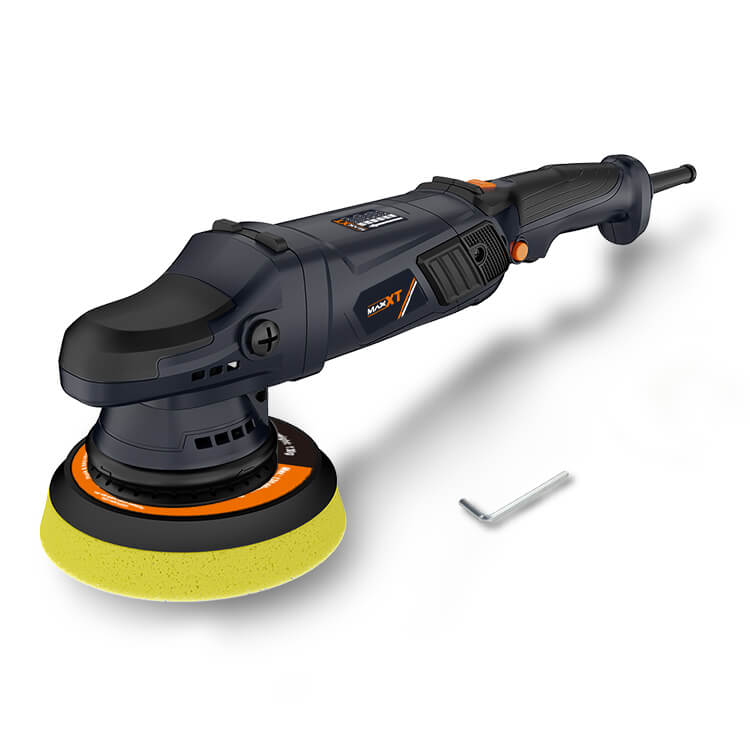
MaxXT MOP71021 6″ Dual Action Polisher
710W, 3000-4500rpm, 6″(150mm) backing plate with a larger 13/16″(21mm) orbit — built for large flat panels and high-volume reconditioning shops.
View product page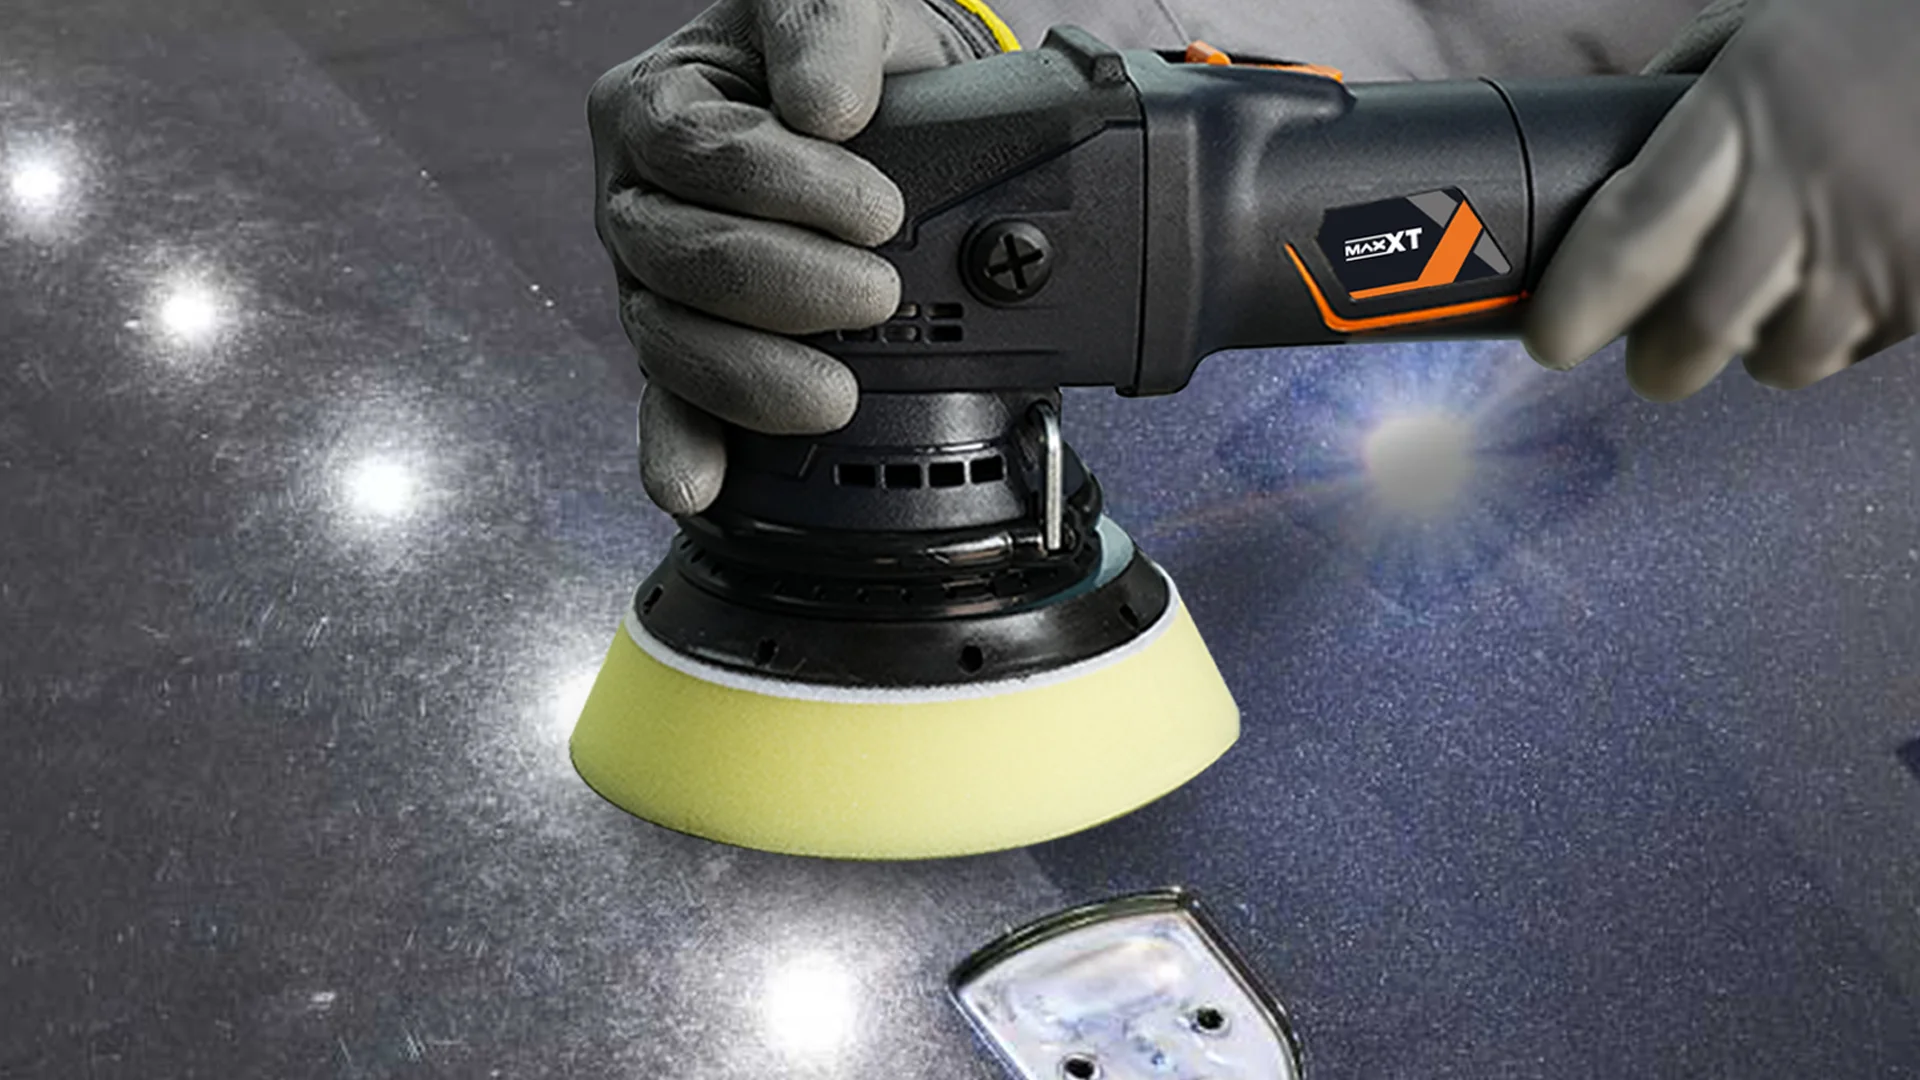
What Should Distributors Look for When Stocking DA Polishers?
In a $46.7B and growing detailing services market (Global Market Insights, 2026), correction tools are a recurring consumable-driven category — pads and compounds sell repeatedly against every machine sold once. Stocking the full plate range plus a compatible pad and compound assortment captures both the initial machine sale and the ongoing consumables revenue.
What this means for you: A customer who buys a 5″ polisher will come back for pads, compounds, and eventually a 3″ plate once they hit their first tight body line. Selling the system up front, or at minimum flagging the follow-on need, builds a stickier account relationship than a one-time machine sale.
| Модель | Опорная пластина | Власть | Speed Range | Лучше всего подходит для | Why Stock It |
|---|---|---|---|---|---|
| МОП71012-3 | 3″(75mm) | 710 Вт | 4000-5500 об/мин | Tight areas, precision correction | Essential companion plate for any correction kit |
| МОП71012-5 | 5″(125mm) | 710 Вт | 4000-5500 об/мин | Standard correction work | Broadest addressable demand; the default recommendation |
| МОП71021 | 6″(150mm) | 710 Вт | 3000-4500 об/мин | High-volume, large flat panels | Premium upsell for reconditioning and body shop accounts |
Certifications to Check — and Why They Matter for Liability
| Certification | What It Means | Why Distributors Should Care |
|---|---|---|
| CE | Conformite Europeenne safety standard | Required for EU market access |
| UL | Underwriters Laboratories listing | De facto requirement for US retailers; increasingly mandatory |
| EMC | Electromagnetic compatibility | Prevents interference with shop electronics |
| ISO 9001 | Quality management system | Signals consistent manufacturing (MaxXT holds this) |
| BSCI | Social compliance audit | Increasingly required by European retailers |
Recommended stocking strategy: 50% MOP71012-5 (broadest demand), 30% MOP71012-3 (essential companion plate), 20% MOP71021 (high-volume upsell). Adjust based on your customer mix — more body shop and reconditioning accounts means more allocation to the 6″ model.
Why Correction Safety Matters for Your Customers
Paint correction carries a lower physical injury risk than tools like heat guns, but it carries a much higher financial risk — burning through clear coat on a single panel can cost a shop thousands of dollars in respray and customer goodwill. Key safety and quality practices worth passing on to your customers:
- Never correct in direct sun or on a hot panel: Heat accelerates compound breakdown unevenly and increases burn-through risk. Work in shade or indoors.
- Tape off edges, emblems, and trim: Pad edges catching raised trim or emblems is a common source of accidental scuffing.
- Check paint thickness on unknown-history panels: A paint thickness gauge prevents correcting into a thin respray section.
- Keep the pad flat against the panel: Tilting the pad concentrates pressure on the pad edge, risking uneven cutting and swirl introduction from the pad itself.
- Clean pads between stages: A loaded pad reintroduces the exact defect it’s supposed to remove.
Recommend PPE of nitrile gloves for compound handling and eye protection when working overhead on tall vehicles. A quick reminder that “the machine does the cutting, not your arm” prevents the most common beginner mistake — pressing too hard and overheating the panel.
Часто задаваемые вопросы
Can a dual action polisher fully remove swirl marks?
Yes, for the vast majority of swirl marks that sit within the clear coat, a DA polisher paired with the correct cutting pad and compound levels the surrounding clear coat down to the depth of the scratch, removing it rather than filling it. Marks that have penetrated through the clear coat into the base coat cannot be corrected and require respray.
What speed (OPM) should I use to remove swirl marks with a DA polisher?
Start compounding at speed 4-5 (roughly 4000-4800 OPM on most DA polishers) to generate enough friction to break down the abrasive, then drop to speed 2-3 for the polishing and finishing stages. Running heavy cutting compound at low speed is the most common technique failure reported by distributors.
Do I need a different pad and compound for each stage of correction?
Yes. Correction is a three-stage system: a cutting pad with heavy or medium compound removes the scratch, a polishing pad with a lighter compound refines the resulting haze, and a finishing pad with a glaze or finishing polish restores full gloss. Using one pad and compound for all three stages leaves visible haze.
Can a DA polisher remove swirl marks as well as a rotary polisher?
A DA polisher’s random orbital motion is far more forgiving on heat and far less likely to burn through clear coat than a direct-drive rotary, making it the safer recommendation for distributors selling to shops without dedicated correction specialists. Rotary machines cut faster but carry a materially higher risk of paint damage in untrained hands.
Why do swirl marks reappear after polishing?
The most common causes are washing with a low-quality wash mitt or automatic car wash brushes, insufficient correction depth that left the scratch partially intact, or skipping a protective coating that left the fresh finish unshielded from re-marring. Each of these is a technique or aftercare issue, not a tool defect.
How do I verify swirl marks are actually removed, not just hidden?
Wipe the panel with a clear paint-safe residue remover (not the compound’s own carrier oils, which can temporarily fill and hide scratches), then inspect under a raking LED light or in direct sunlight at a low angle. The 50-50 test — correcting half a panel and comparing it to the untouched half — is the standard verification method.
What are the MOQ and certification requirements for wholesale DA polishers?
MaxXT offers 0 MOQ for initial orders with CE-certified products as standard. EMC, UL listing, and ISO 9001 certifications are available upon request, and free samples are available for evaluation before a wholesale order.
Ready to Stock a Complete Correction System for Your Customers?
Evaluate MaxXT’s dual action polisher lineup firsthand. Request a free sample across the 3″, 5″, and 6″ backing plate range and compare against your current supplier.
Request Free SampleИтог для дистрибьюторов
The global car detailing service market was valued at $46.7 billion in 2025, growing to $81.2 billion by 2035 (Global Market Insights, 2026), and paint correction sits at the profitable core of that growth. Swirl mark removal is not a mysterious skill — it is a controlled, repeatable system of pad, compound, and speed matched to defect severity, and the distributor who can explain that system sells more than a machine.
The differentiator between a distributor competing on price and one competing on value is the same here as in any technical category: knowledge. The distributor who can diagnose a customer’s technique gap, recommend the right backing plate for their panel mix, and explain why swirls came back after a previous correction attempt will retain accounts longer and face less commodity price pressure than one who simply ships boxes.
Ссылки
- Global Market Insights. “Car Detailing Service Market Size & Share 2026-2035.” GMInsights.com, 2026. Source
- SAE International. “Paint Thickness Measurement and Automotive Clear Coat Guidelines.” SAE.org Technical Papers. Source
- 3M. “3M Perfect-It Paint Defect Removal and Pad/Compound Technical Data.” 3M Commercial Solutions. Source
- International Detailing Association. “Detailing Resources and Industry Standards.” the-IDA.com. Source
 Russian
  English
  Arabic
  French
  German
  Portuguese
  Spanish
  Turkish